Soul Food Studio

How to Style Your Interior With Plants

Styling, Interior, AllAmanda Russell
1 Mark Diacono from Lia Leendertz My Tiny Inddor Garden .jpg

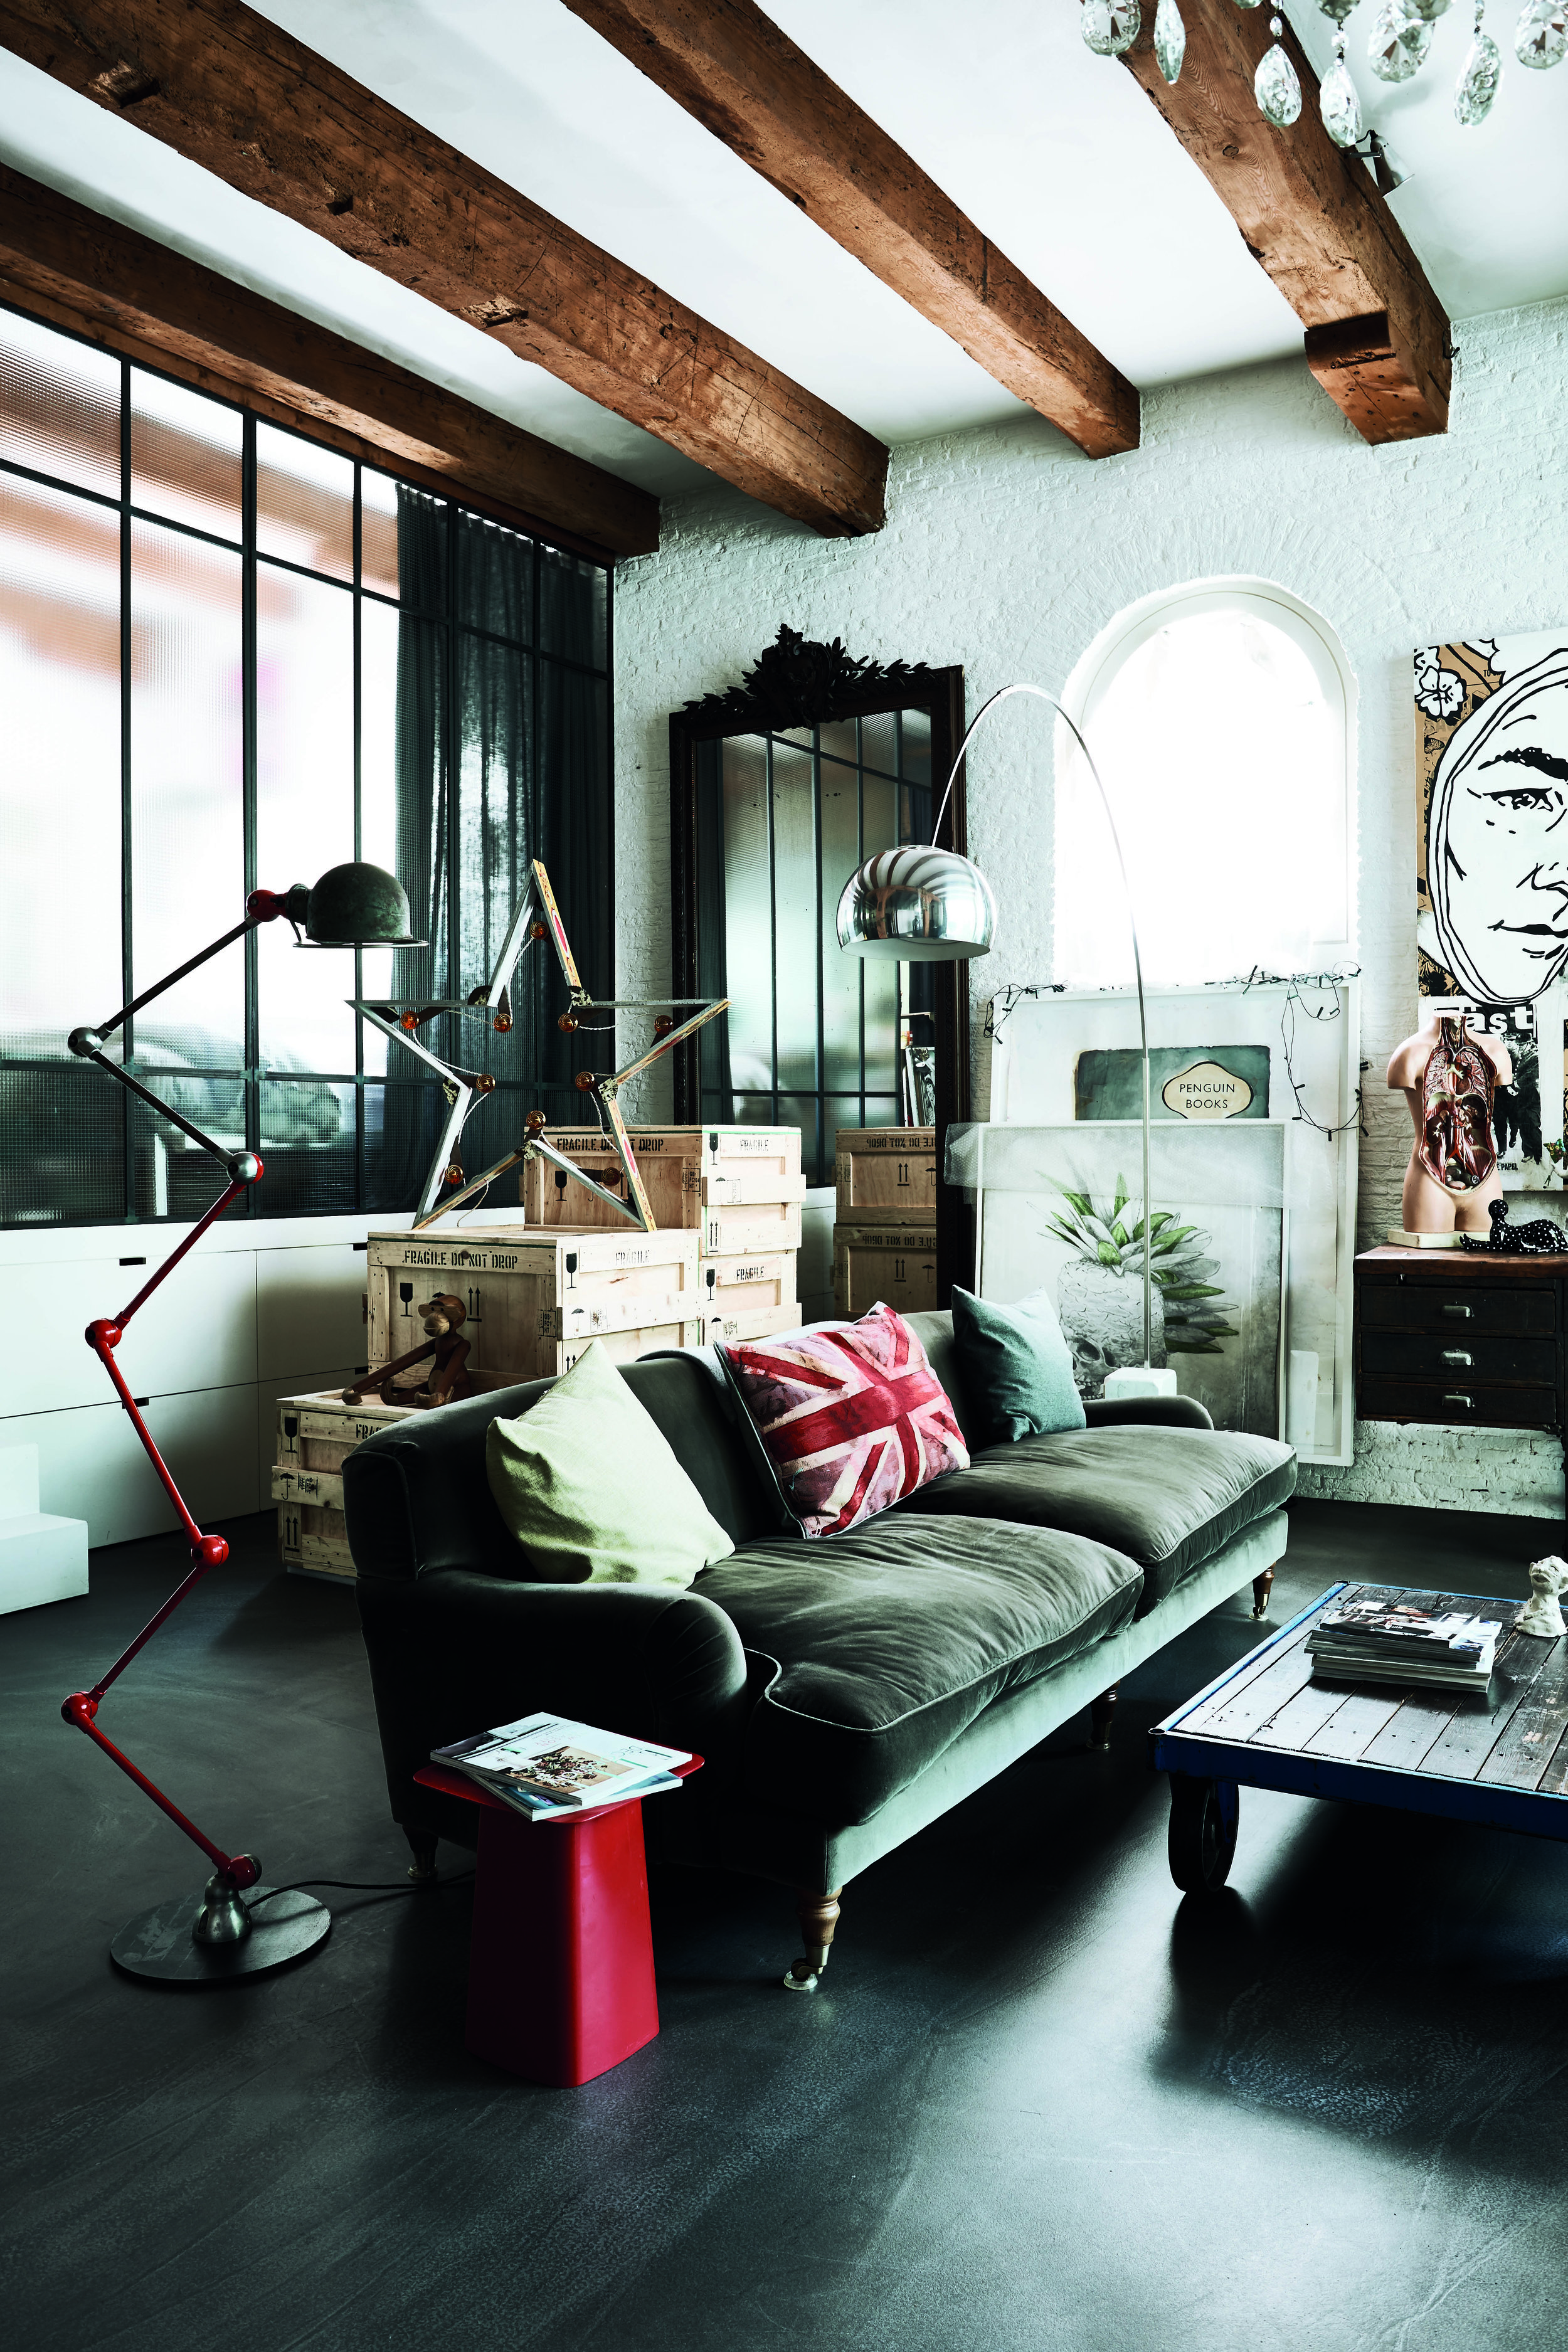
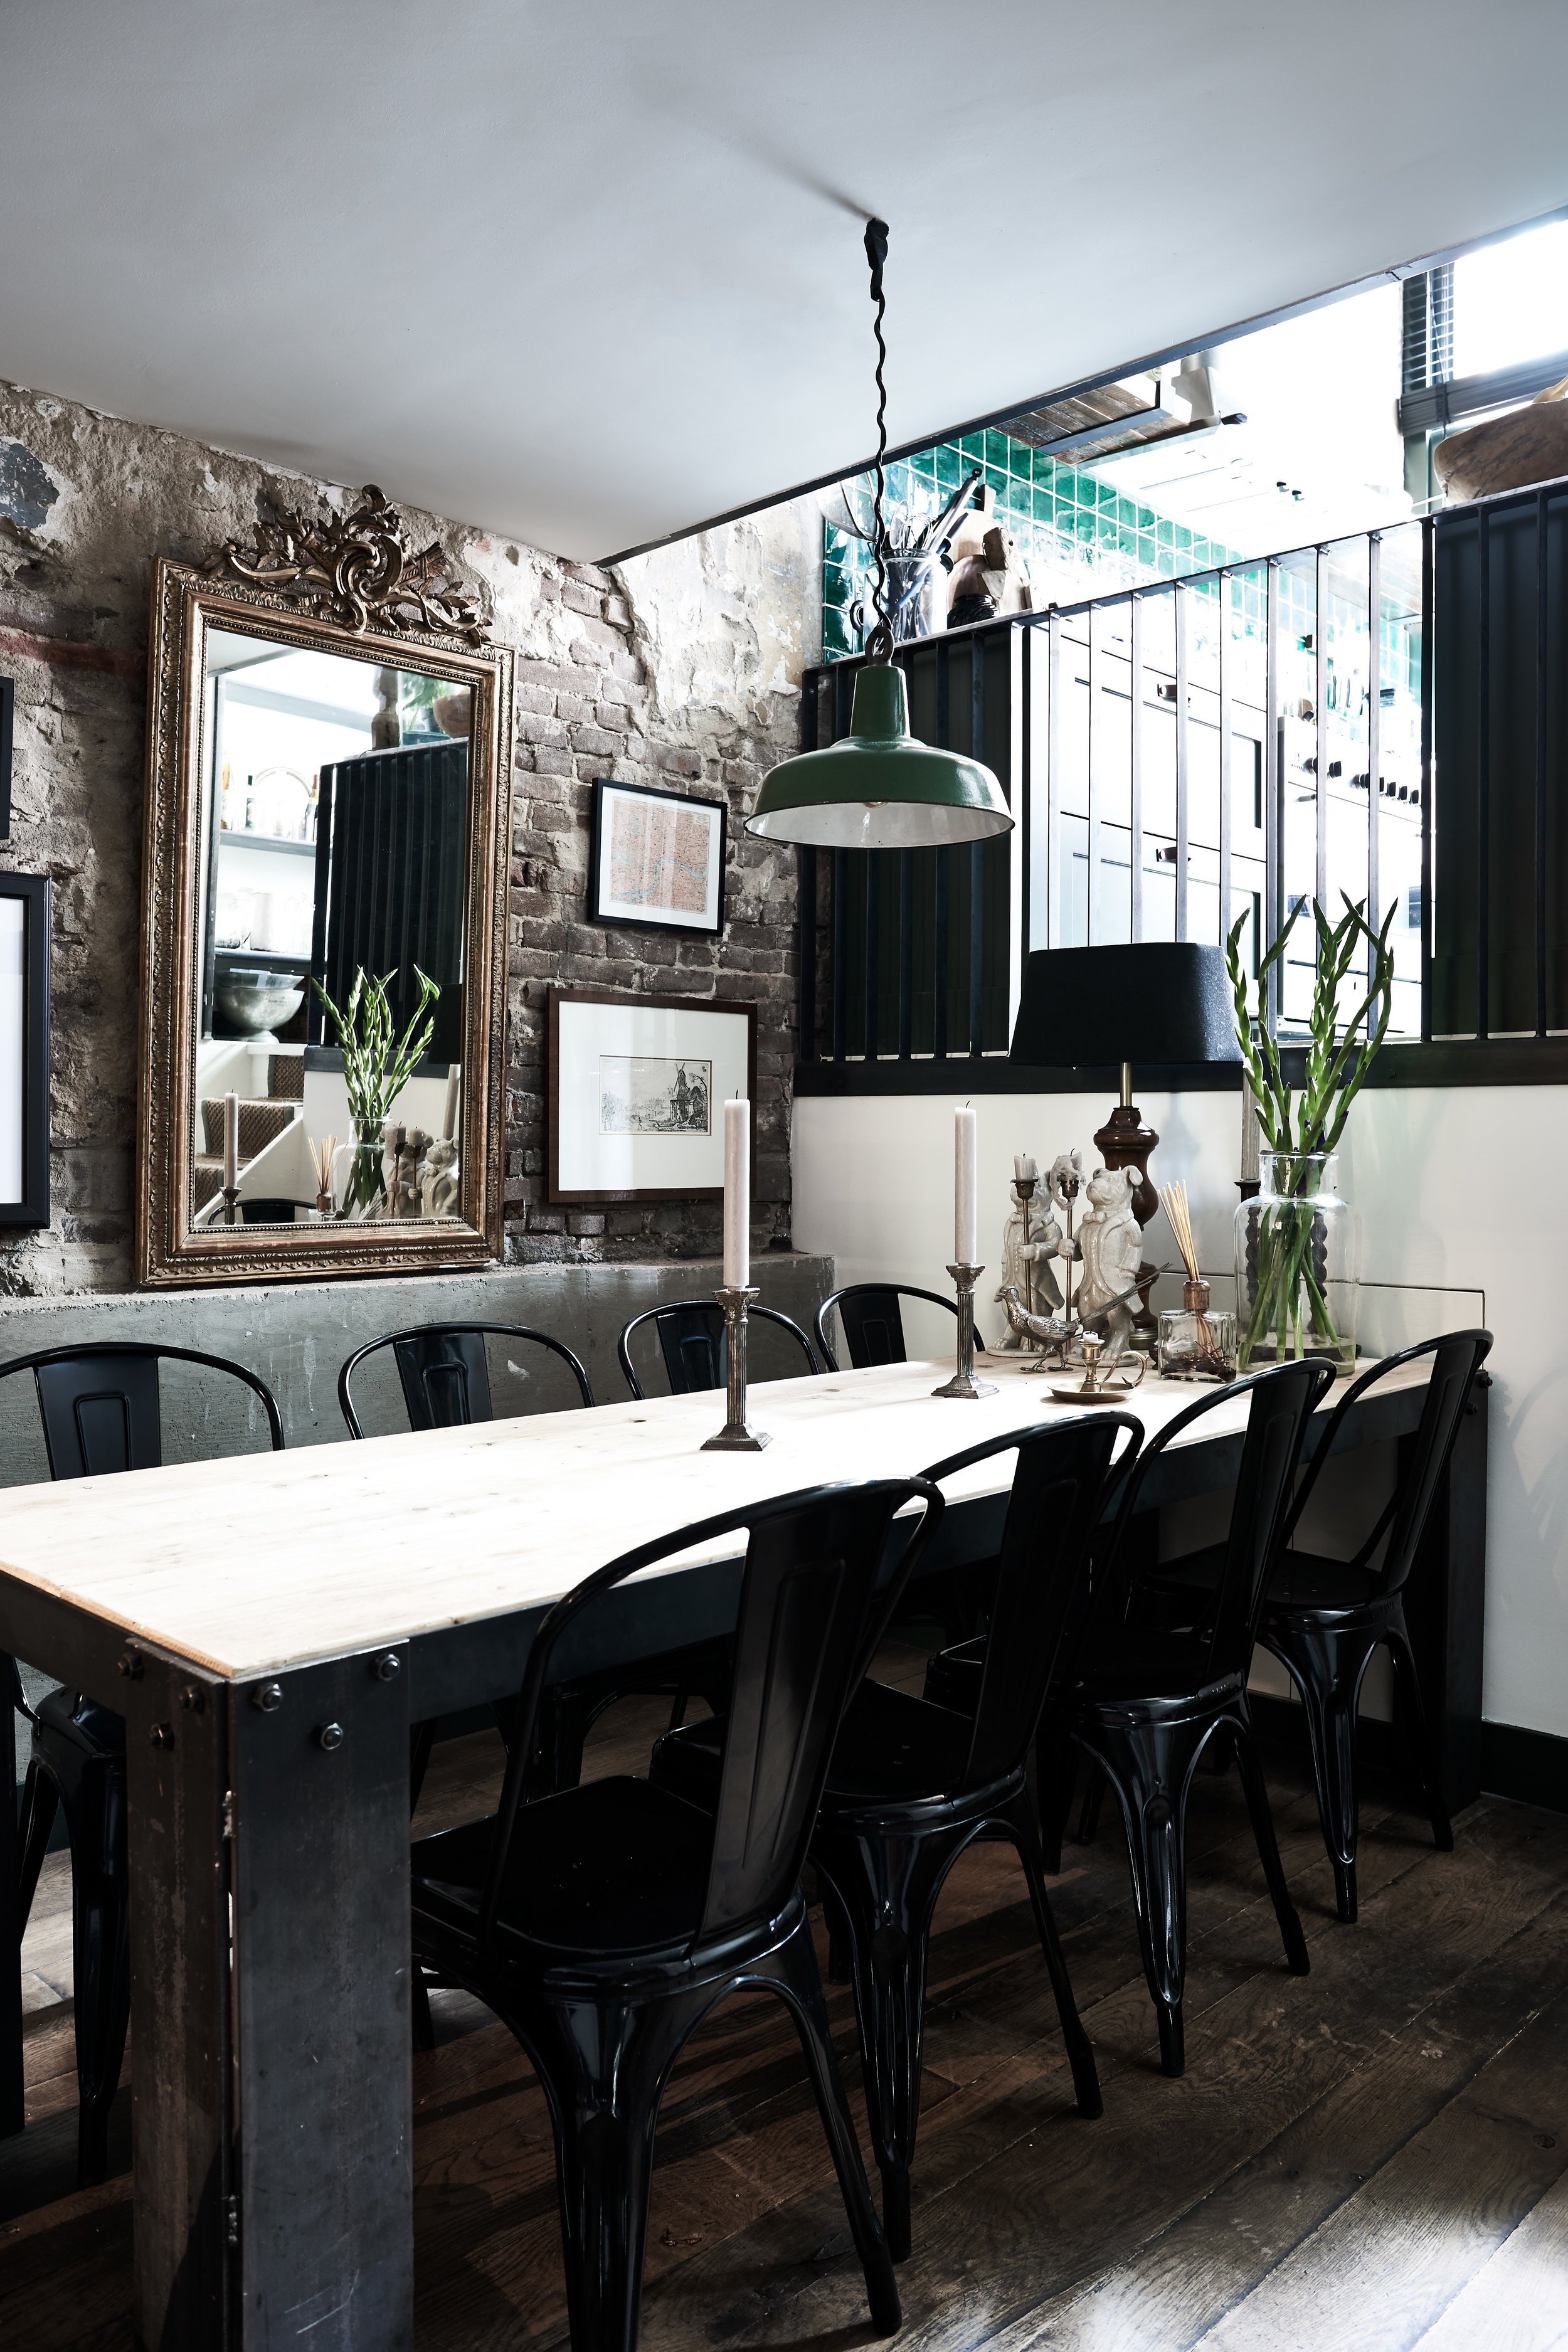
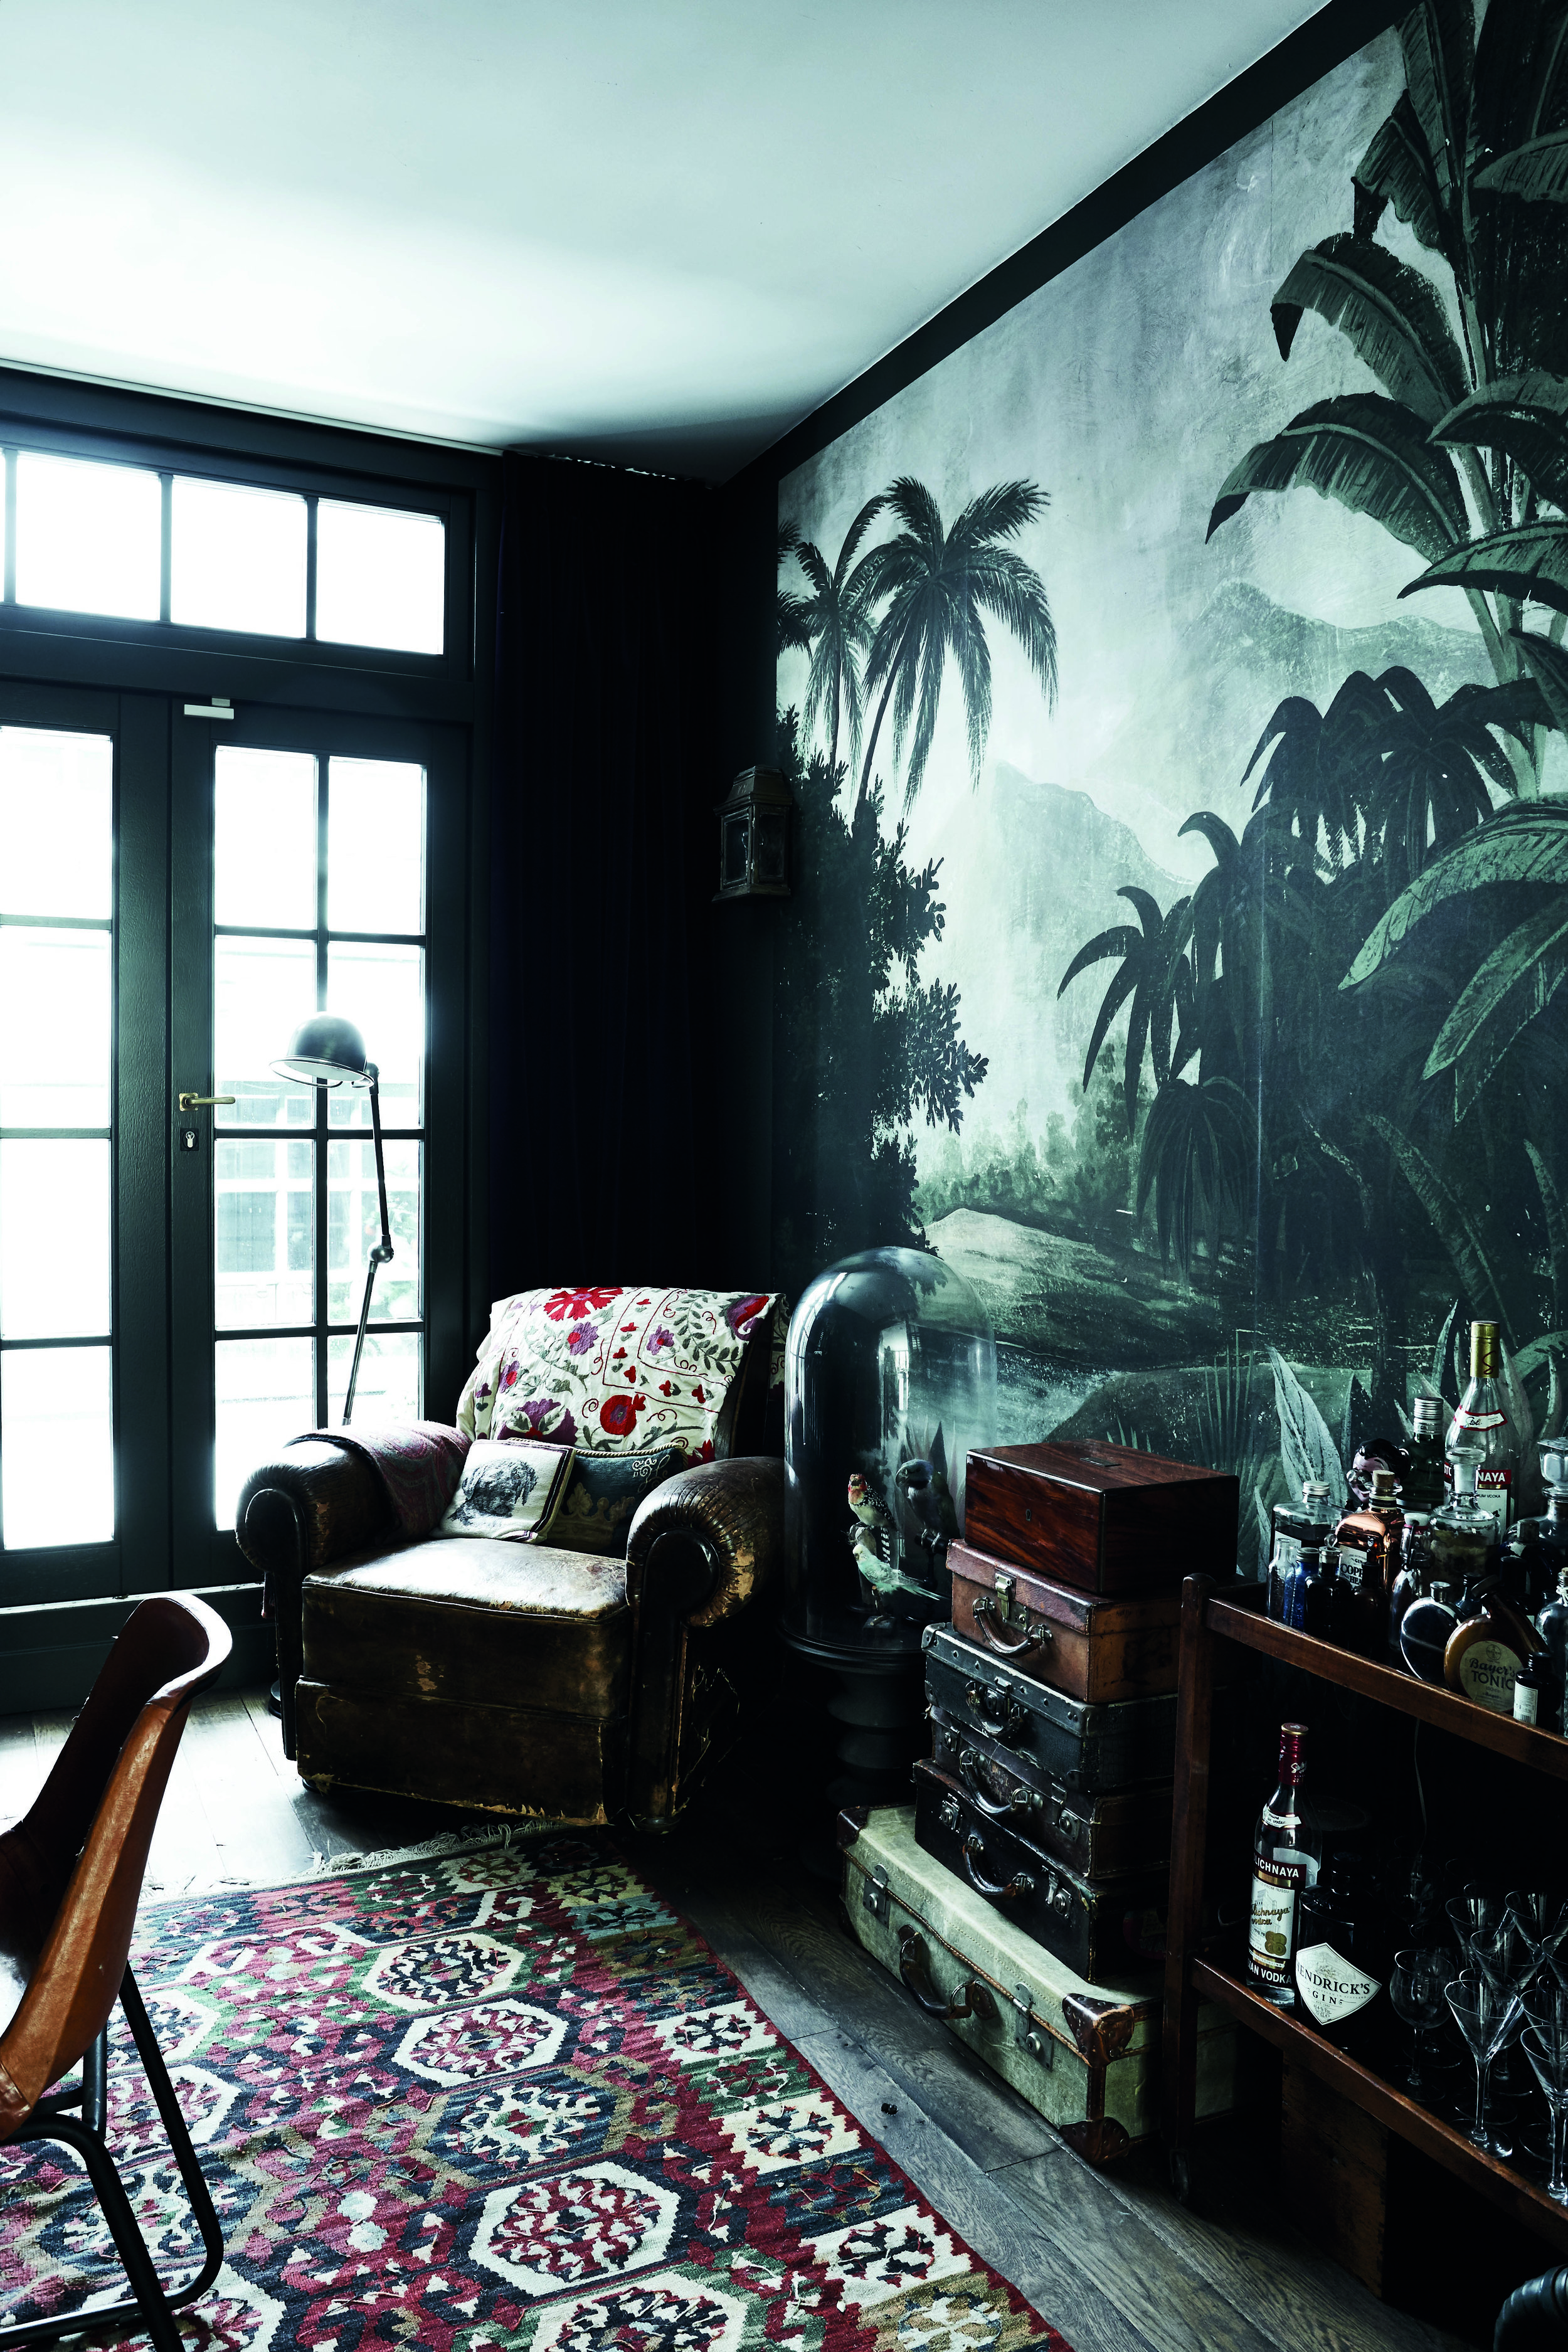
We all want our home to look wonderful and project our personality without making any costly mistakes. As an interior stylist working on magazines and in interior design, I believe everyone has their own unique style, but pin pointing it can be a tricky one with so many visual influences and different avenues to tempt you. Just now plants are having a moment, we all love a bit of greenery in our home. Firm up your style identity with a few simple styling tricks to set you on the right track when you are working with plants. 

IMG_2005.jpg

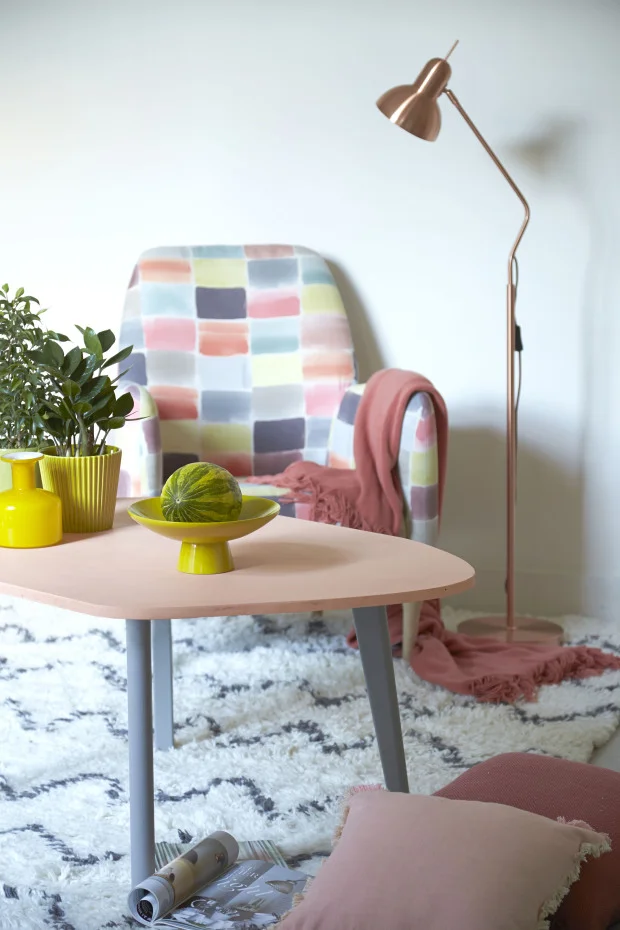
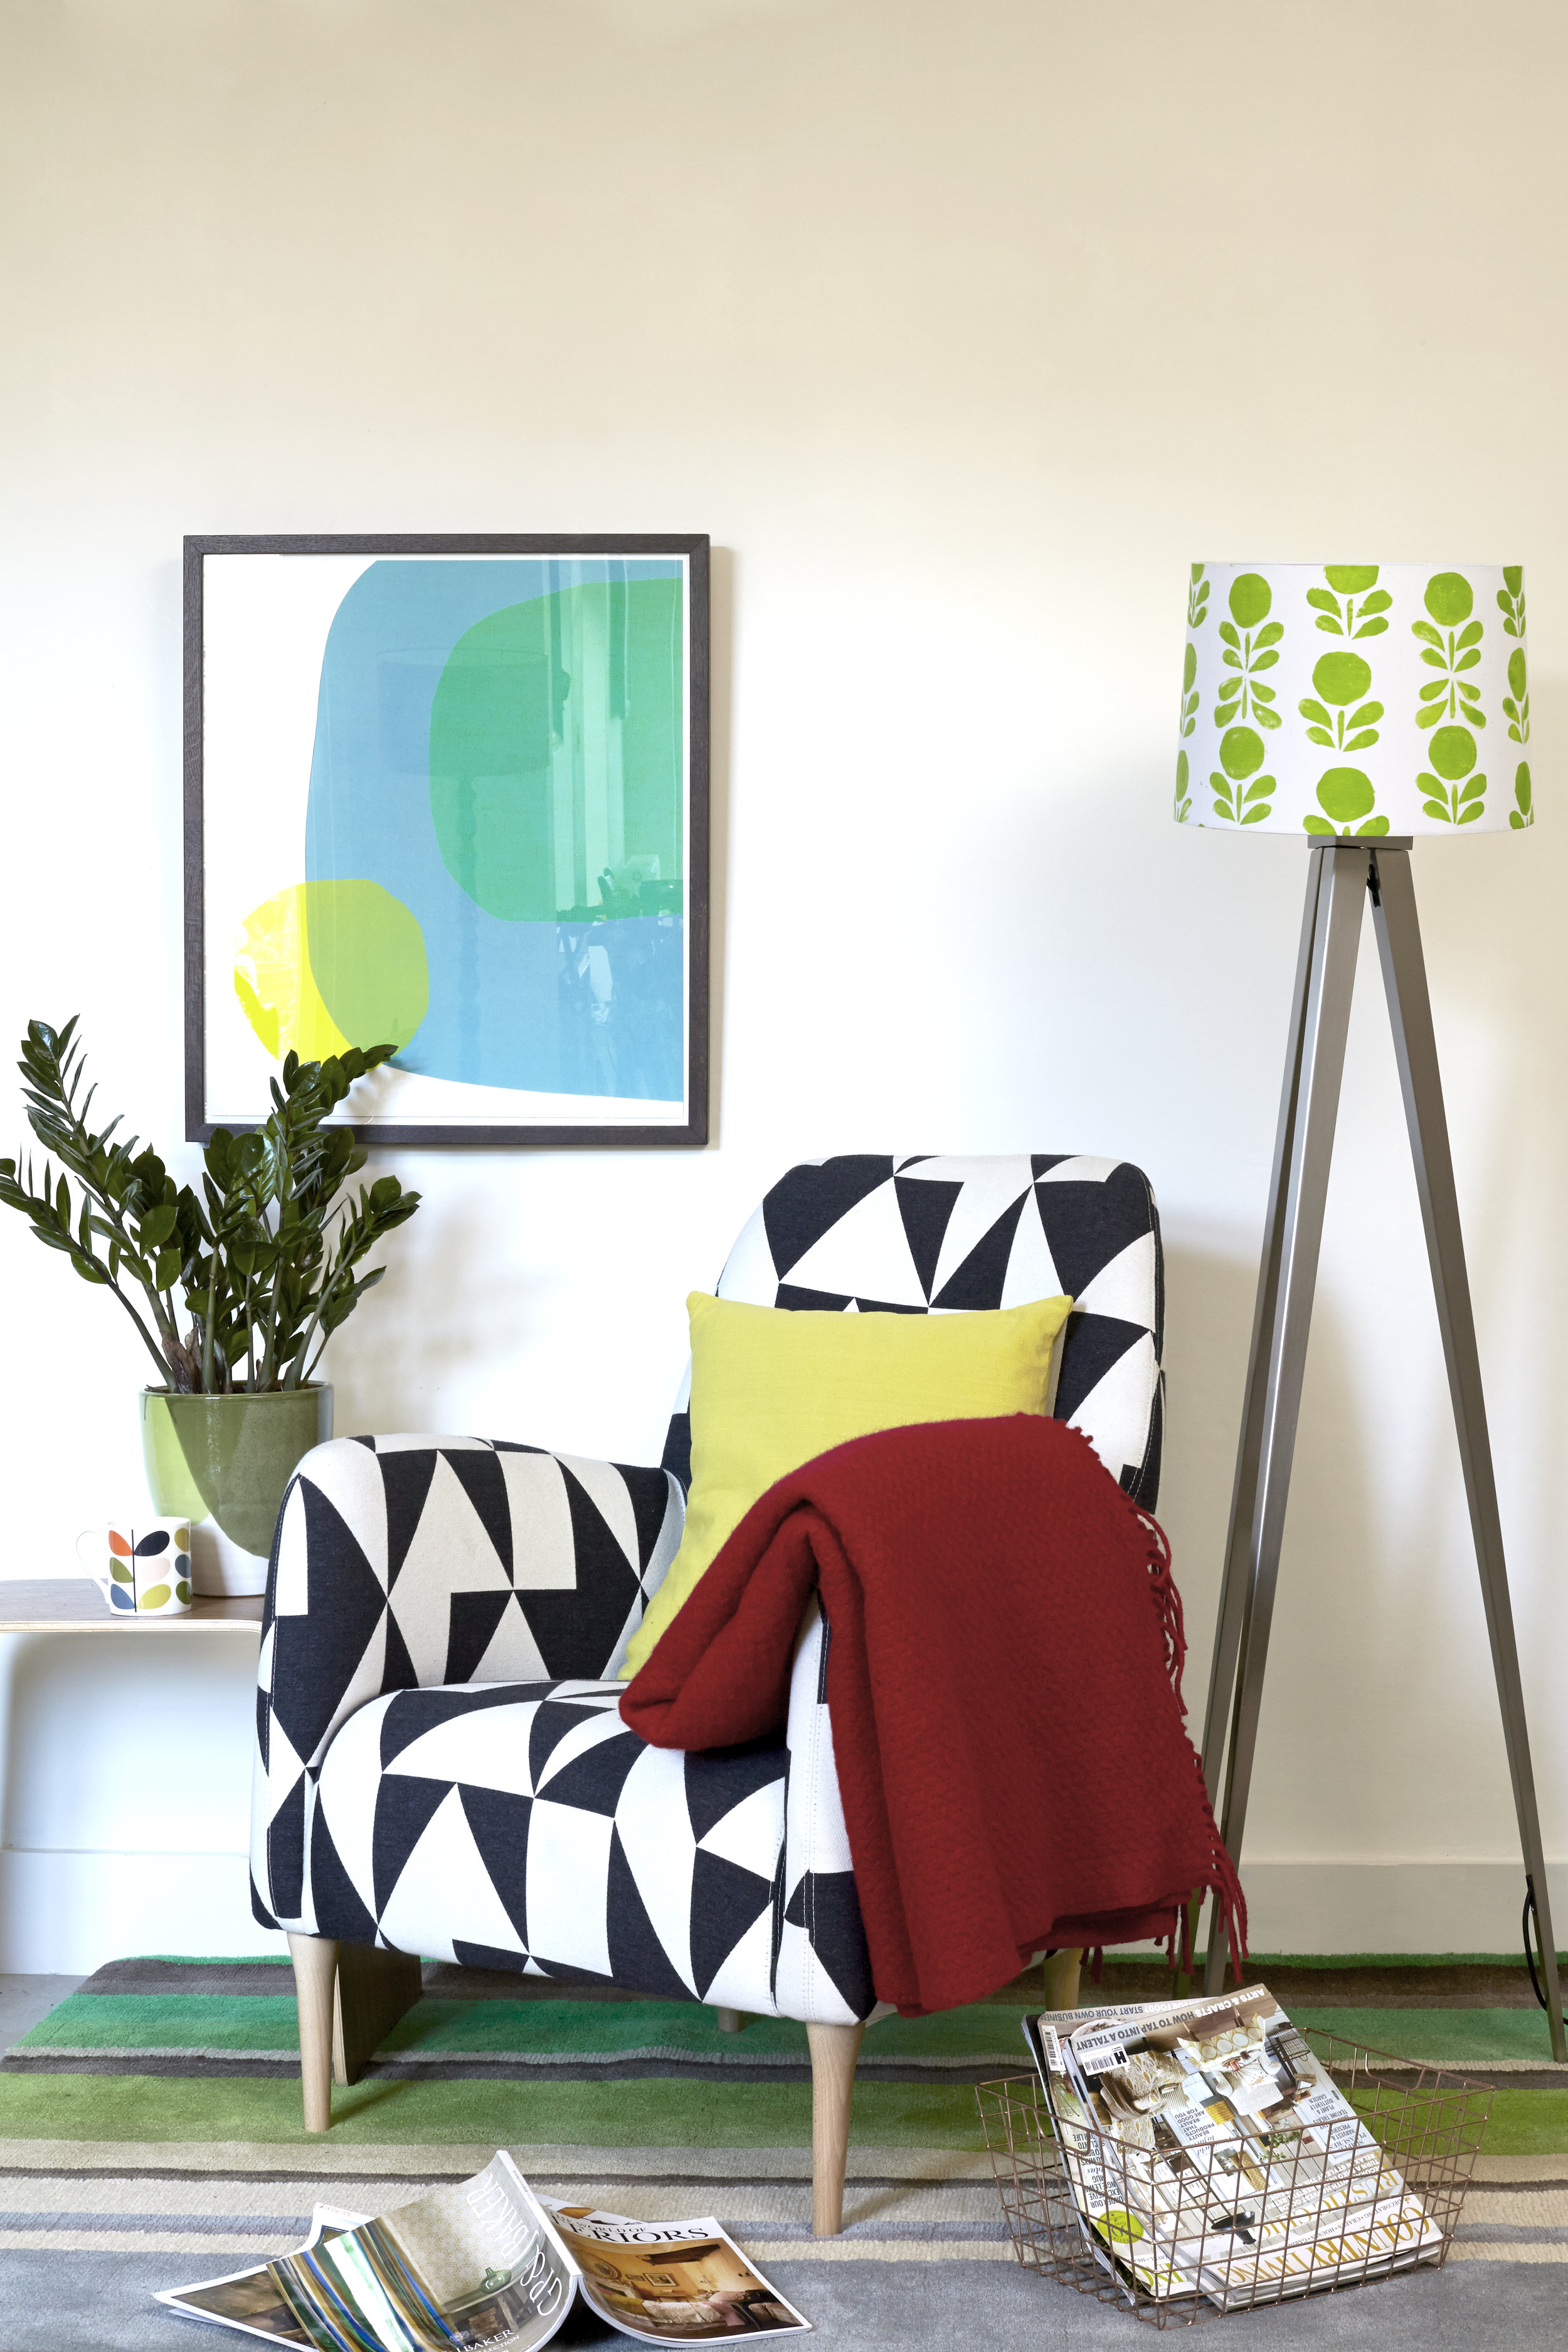
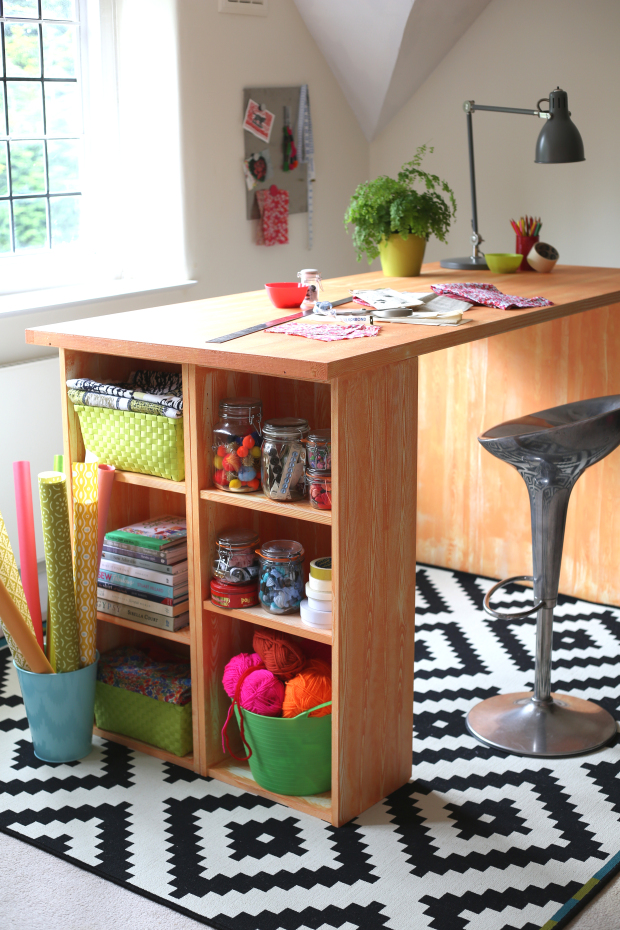
House plants are slow growing and are in danger of making a room appear static and repetitious. Ring the changes, breath new life into a space by using plants as props and showing off your chosen hero object at its best. The styling hero can be anything that takes your fancy, I dip into my shop where I stock vintage ceramics, vases, vessels and figures.

If you like this post why not check out my post about Styling your Dartmouth Flower Urns 

Get Yourself an Asymetric Coffee Table

Crafts, AllAmanda Russell

Have yourself an enviable conversation piece coffee table by transforming a very ordinary coffee table with a new asymmetrical top and a lick of paint.

You Will Need

  • Lisabo Tabe Ikea

  • 20mm MDF

  • Black and Decker electric jig saw and drill

  • Paint

  • Varnish

  • Wood filler

  • Screws

  1. Using the jig saw cut the table top over hang off the table. Draw the shape of the new table top on the MDF. Cut out with the jigsaw. Sand the edges of the table and MDF.

  2. Paint the MDF table top blush and the legs graphite.

  3. Place the MDF table top on the table, drill through the new top into the old top then screw down.

  4. Fill screw holes with two part filler when dry sand and retouch paint.

  5. When dry paint the whole table with quick dry

Tip

  • This table gives lots of space for styling a table scape, I love the zingy saffron I chose. For a new look, change your styling accessories with the season.

If you like this post why not check out my post on Stamping your own Floral Lampshade

Stamp your own floral lampshade

Crafts, AllAmanda Russell

I love simple bold classic 60s florals and designed a print in a bright vibrant green for a large lampshade. This is a very simple way to create your own bespoke piece of designer homeware.

You will already have many of the things you need for this low-tech hand printing project and there are only a couple of specialize products you will need.

You will need:

  • Plain drum lampshade

  • Dylon fabric paints in Green and Yellow from

  • Acrylic block

  • Tracing paper

  • Pencil

  • Rubber

  • Masking tape

  • Glue stick

  • Hobby foam sheet

  • Car wash sponge

  • Scissors

  • OHP pen (overhead projector pen)

  • Masking tape

Step by Step

  1. Measure the lampshade and draw a design to fit, then trace onto tracing paper. Use a permanent OHP pen to mark the center back of the acrylic block. Place the design under the acrylic block and trace onto the reverse side of the block with the OHP pen.

  2. To transfer the image onto the foam sheet, place the tracing paper design face down on foam, and then scribble over the back with a soft pencil.

  3. Cut out your design from the foam sheet using scissors and a craft knife. Stick the cut out pieces in position on the acrylic block using a glue stick.

  4. Place a line of masking tape around the top and bottom edges of the lampshade.

  5. Mix up your fabric-printing colour, I made a lime green by mixing the yellow with the green about half a pot for this design. For the fabric paint applicator cut a piece 3cm cubed from the car wash sponge. Dab one side of the foam in the fabric paint until it is evenly coated. Then dab the fabric paint onto the design block and print on paper to check colour.

  6. Start printing onto the lampshade, beginning at the seam, reloading the block with paint after each impression.

Tip

  • Transparent acrylic blocks take the headache out of positioning the block especially when printing repeat designs.

If you like this blog post why not read my post on Creating a Retro Tiled Coffee Table

Bang on Trend Super Easy Picture Shelf

Crafts, AllAmanda Russell

Have you ever marvelled at curated collections of pictures and wondered how you can move them about without damaging your walls? This great little picture shelf is the answer, use it to display your own curated collection of pictures, it’s easy to move them around again and again whenever you want to change the look.

You Will Need

  • Wood strip and beading

  • Brass picture hooks

  • White matt emulsion paint

  • Electric Drill Black and Decker

  • Rawl plugless screws

  • Panel pins

  1. Measure the wood strip and beading and use a saw to cut both pieces of wood to the same length.

  2. Place the beading strip in the centre of the wood strip.

  3. Hammer in position using panel pins.

  4. Paint with white emulsion.

  5. Screw the brass picture hooks on the back edge.

  6. Mark and drill holes for screws on the wall, then screw the shelf in place.

Tip

  • Paint the shelf with the same colour as the walls so it blends into the room

If you like this post why not take a look at How to create your own vintage letter

Upmarket Luxurious Upholstered Footstool

Crafts, AllAmanda Russell

Yawn, yawn, a coffee table's a coffee table's a coffee table. I wanted something a little different and an upmarket luxury upholstered stool fitted the bill perfectly. It just took an Ikea coffee table and lots of imagination to make it into a fab statement footstool. 

You will need:

  • Nornas coffee table, Ikea

  • Fabric

  • Cot mattress

  • Wadding

  • Saw

  • Tape measure

  • Staple gun

  1. Before assembling your table, measure halfway down each of the legs and saw them in half.

  2. Paint the legs and the underside of the coffee table with black paint. Once the paint is dry follow the instructions to put the table together.

  3. Cut your mattress to fit the top of your coffee table. Piece the off cuts together to make a shape that fits the table top.

  4. Place the trimmed mattress and off cuts on top of the table and cover with wadding. Staple the wadding to the underside of the table to hold everything together.

  5. Lay the printed fabric on top of the wadding and staple underneath. For neat corners fold and sew the fabric in place.

If you like this blog post why not read my post on creating an up cycled pallet coffee table

Book Review - Urban Pioneer: Interiors Inspired by Industrial Design by Sara Emslie

Book Reviews, AllAmanda Russell
Architecture Design by Manifold Architecture studio, Brooklyn, NY

Architecture Design by Manifold Architecture studio, Brooklyn, NY

How can I resist the new book by interior stylist that just arrived on my desk, Urban Pioneer: Interiors Inspired by Industrial Design. The pioneers, mostly designers and artisans have colonised and renovated exindustrial and non residential buildings where they combine work with living, to create a new urban lifestyle. They have thrown out the rules of traditional interiors and the newly emerged style reflects the remnants of the industrial past, generous windows letting in lots of light, metal finishes, exposed pipes and brick work. 

The canalside home and gallery of creative director, art dealer and location owner Mark Chalmers in Amsterdam www.thegarageamsterdam.com 

The canalside home and gallery of creative director, art dealer and location owner Mark Chalmers in Amsterdam www.thegarageamsterdam.com 

The urban pioneer is a style that's in demand, we are all familiar with the open plan look of these large industrial spaces, flexible, less permanent and more mobile. The pioneers have licence to break the mould, be bold and take the opportunity to experiment, take risks while rethinking scale. The book examines twelve case histories, all individual, illustrating a variety of ways to design post industrial interiors.

The London home of Peter Wim

The London home of Peter Wim

While all the spaces have a strong sense of reflecting the anatomy of the building, pioneers adapt their space to their individual needs. And don't think it's all about the utillitarian, as this ultimately depends on where the pioneer chooses to draw the line. Some like to allow for domestic softening and flights of fancy. Amsterdam interior by designer James van der Velden has a spectacular lush wall painted in the manner of a classical artist.

 Designer James van der Velden of Bricks Studio

 Designer James van der Velden of Bricks Studio

While the kitchen of graphic designer Anouk Pruim, is pared back, no frills, basic chic, reflected in salvedged utility used for furnishing the space. In the New York home of Houssein Jarouche my favourite, a vintage modern interior, has ecclectic kitchen cupboards that are boldly collaged with colourful graphic tape.

Designer James van der Velden of Bricks Studio, Amsterdam

Designer James van der Velden of Bricks Studio, Amsterdam

If you want to get that Urban Pioneer look, this book, packed with visual pointers will help you put together your own take on interiors inspired by industrial design.   

The New York home of Houssein Jarouche of micasa.com.br 

The New York home of Houssein Jarouche of micasa.com.br 

The home of Anouk Pruim, graphic designer

The home of Anouk Pruim, graphic designer

Urban Pioneer by Sara Emslie

(Ryland Peters & Small, £19.99)

Photography by Benjamin Edwards © Ryland Peters & Small

If you like this post why not check out my book review on Making Winter by Emma Mitchell

Turn a wine box into a great shelf

Crafts, AllAmanda Russell

Turn an old wooden wine box into a shelf by painting, wallpapering and adding screw holders at the side to attach it to the wall. I chose a lovely blue paint and wallpaper from Mini moderns, one roll will go along way and that means that you can cover files, books and other shelves too.

You will need –

  • Wooden Wine box

  • Minimoderns Emulsion paint lido £5.00

  • Paint brush

  • Minimoderns wallpaper Darjeeling £50

  • PVA glue

  • Scissors

  • Picture frame brackets Homebase

  • Screw Driver

  • Electric drill black and decker

  • Masonary screws

  1. Paint the exterior of the box with emulsion paint.

  2. Mix pva with a little water to the consistency of double cream and paint the inside of the box to seal.

  3. When dry measure and cut wall paper to size. Paint the reverse of the paper pieces and insides of the box with let down pva.

  4. Press the paper in place rubbing down any stubborn bubbles.

  5. When dry screw picture frame brackets to the side, then screw to the wall.

Tip

  • Wood can be very absorbent and suck up paint, to get an even coat first paint the box with emulsion which has been let down with a little water.

If you like this blog post make sure you read my list on creating your own Designer Work Station 

Making Concrete Pots, bowls, and Platters by Hester van Overbeek, Book Review

Book Reviews, AllAmanda Russell

Here’s an inspiring book that recently landed on my desk, Making Concrete Pots, Bowls, and Platters by Hester van Overbeek. On a quick flick through with it’s attractively styled images and easy to see there’s a wealth of projects to get stuck into. Top of my list is a two-tone decorative bowl, but with summer fast approaching a fire bowl would be great and then there’s a cheese board that can double up as a sharing platter when the family’s together.

There are step-by-step instructions for all the very doable projects, the most taxing aspect is carrying home the bag of concrete mix. A look around your house or a trip to the pound store or supermarket is sure to come up with solutions for molds or you can get casting using sand. The project top of my list is the garden planter, currently succulents are on everyone’s agenda and the texture of the grey concrete against the chalky blue of the fleshy leaves would be perfect. 

With 35 projects to choose from, I’ll be returning to this informative book every time I want inspiration. A must for anyone wanting clear step by instructions for making highly desirable, simple, contemporary concrete makes for the home and garden.

Making Concrete Pots, Bowls, & Platters by Hester van Overbeek,

Published by CICO Books (£12.99)

Photography by James Gardiner © CICO Books

If you like this post make sure you read my book review of 'My Tiny Indoor Garden'

Upcycled Pallet Coffee Table

Crafts, AllAmanda Russell

I'm in love with this pallet coffee table. Not the the best at being tidy and I do like space to style up, this helps with both! Loads of storage space under the top to slide in shallow boxes and lots more on top for books and plants. 

You will need:

  • -Two wood pallets

  • Surform

  • Emulsion paint

  • Scumble glaze

  • Bucket

  • Screws

  • Drill

  • Four castor wheels

  • Basket trays

  1. Carefully remove the long slats from one of your pallets, then screw them onto the base of the other to make support for the drawers to sit on..

  2. Using a surform (a tool similar to a cheese grater) remove any loose bits of wood from the pallet surface, edges and underside.

  3. In a bucket, mix 100ml of scumble glaze with 400ml of emulsion paint, add a little water to thin the glaze. Brush onto the wood. I chose white to give a white-washed look.

  4. Turn your coffee table upside-down and screw a wheel to each corner. Finally slide storage boxes into the gaps under the top.

If you like this post make sure you check out my post on Printing your own Labels

Create Your Own Gorgeous Vintage Letter

Crafts, AllAmanda Russell

How often have you longed for a trendy battered statement vintage letter? I show you how to create your own for a fraction of the cost.

You will need:

  • White foam board

  • Pencil

  • Steel ruler

  • Glue gun

  • Paintbrush

  • Metallic emulsion

  • Cellulose sponge

  • Dulux Matt Emulsion Caribbean Coral

  • Craft knife

  1. This letter is 30cm high and 7cm deep, for an easy job be sure to choose a letter without curves! Draw up the letter on white foam board then cut out using the steel ruler and craft knife.

  2. To make the walls of the letter cut strips to the length of each side and 7 cm high. Glue in place with the glue gun.

  3. Paint all surfaces with emulsion, then leave to dry. Pour a couple of tablespoons of the metallic emulsion paint into a shallow dish. Stir in a few drops of water to thin paint to the thickness of pouring cream.

  4. Tear off a section of sponge, 8cm square and immerse in the paint, remove and wring out excess paint. Dab the sponge on all the surfaces of the letter, making sure you get into the corners. Leave it to dry, then even up the finish by going over with a second coat of paint.

Tip

  • Make this a really thrifty project and use paint left over from another project or buy a match pot of your chosen colour.

If you like this post make sure you check out my post on how to make your own cushion cove

Unique Space Saving Ladder Plant Stand

Crafts, AllAmanda Russell

Have you noticed the great plant invasion in every interior recently? They can take over all your surfaces so here's a project for a handy ladder plant stand that makes a gorgeous tired indoor garden. Use it to grow plants on as well as herbs for the kitchen. With bags of handy storage you can't help but make space for it in your life.

You will need:

  • Saw

  • Screws

  • Black and Decker drill and jig saw

  • Paintbrush

  • Dulux Matt Emulsion paint

  • Spirit level

  • Scrap wood selection for shelves and battens

  1. I used all my scrap wood for this project, a couple of old boards for the shelves and stripwood in a variety of dimensions for the supports. It was a very mixed bag of scraps so to start with I painted the ladder and all the wood with emulsion for a uniform colour.

  2. To make the ladder lean against the wall you need to adjust the back legs. Put up the ladder, then lean the back legs against a wall so they are perpendicular to the floor. Hold in position, this will raise the front legs off the floor. Measure the distance between the floor and the front legs. Measure and cut this amount off the back legs, now the ladder will hold its position against the wall.

  3. Next add battens on the back legs for shelf supports. Place the spirit level on the bottom step, then use a pencil to mark the position on the back legs. Measure the distance between the back legs, cut a batten from strip wood and screw in place. Repeat for the remaining steps.

  4. Measure for shelves then cut wood to length. Screw each shelf in place on the step and batten. Touch up the ladder shelves with emulsion.

Cheats:

Emulsion paint is quick and easy to use, surfaces need minimal preparation, it gives great cover and the brushes are easy to wash clean.

If you liked this post check out my blog post on how to make a retro tiled coffee table 

Book Review - IN THE MOOD FOR COLOUR Perfect palettes for creative interiors by Hans Blomquist

Book Reviews, AllAmanda Russell

We’ve been stuck in a neutral colour rut for so long, how can I resist the lure of this book title In the Mood for Colour by Hans Blomquist, everyones all time favourite interior stylist, art director who recounts his story of colour, which is a major interest for me. To find all this rolled into one generous tome means well established books at the top of my extensive must have list have been bumped off in favour of this colourful newbie.

The book opens with A World Full of Colour, a lush mosaic of mainly polychrome images from around the world, its grid format is very familiar to Instagram users. It is then divided into chapters, Dark, Pale, Natural, Soft and Bold. Each chapter is layered with a visual feast of colour images illustrating ways to bring colour into interiors. Running through both text and images the constant message to remember is 'designed by nature' when using colour in interiors. In order to grow your confidence combining different hues, take note of  the many ways nature successfully combines colour. This is a personal account of his relationship with colour, his response to the different colours is engaging and effervescent particularly when he discusses how his mood responds to different combinations. 

The eclectic schemes illustrating ways to use colour are summed up with delightful names like Pistachio, Duck Egg and Faded Denim, hinting at a layered experience that engages all the senses. The double page spread, Rose, Powder, Petal, like a mood board, uses a variety of illustrations, paint, fabrics and flowers, with the main image demonstrating how to layer up with style and confidence. 

With its wealth of eye candy still lifes and dreamy compositions it’s an invaluable tool for anyone wanting to find ways to launch into the colour zone and on their way to creating confident colourful interiors. In the Mood for Colour is now my go to volume for inspiration. I’ve worked on many rewarding projects where colour has been pivotal. As lead colour expert on an innovative government research project, colour was used to show how environment affects children learning. Further projects have used colour to develop rooms for teanage cancer care as well as psychotherapists consulting rooms.

IN THE MOOD FOR COLOUR Perfect palettes for creative interiors

Hans Blomquist

Published by Ryland Peters & Small £19.99

If you like this post check out my post on 'The Flower Farmers Year' 

Must Have Retro Tiled Coffee Table

Crafts, AllAmanda Russell

Customise your own retro tiled coffee table, take a cheap as chips high street coffee table and give it enviable style and originality with this easy project. I used ceramic pens to add designs to budget white glazed tiles, easily sourced from any of the diy sheds.

You will need:

  • Coffee table

  • Tiles

  • Ceramic pen

  • Tile adhesive

  • Grout

  • Edging strip

  • Black paint

  • Paint brush

  • Beading for edging strip

  • Panel pins

  • Hammer

  • Saw

  1. Choose two designs for the pattern on the tiles and then draw on with the ceramic pen. Leave tiles to dry.

  2. Paint the table with black paint.

  3. Arrange the tiles on the tabletop, keeping the design random, combine patterned and plain tiles. When you’re happy with the design take a photo to use as your guide as you stick the tiles in place with tile adhesive. I stuck these tiles snuggly against each other. Leave to dry.

  4. To neaten the table edge cut a retaining strip from beading then secure in place with panel pins.

  5. Grout the table, leave to dry. Paint the retaining strip to match the table.

If you like this make check out my Upholstered Footstool post

Book Review 'The Shop Keepers Home' by Caroline Rowland

Book Reviews, AllAmanda Russell

Published by Jacqui Small, £25 hardback.

When it comes to the stylish peoples’ houses, don’t we all just love to get in there and have a bit of a snoop? Packed with images Caroline Rowland’s The Shop Keeper’s Home gives us the chance to check out the houses of the some of the most influential independent retailers worldwide. The book is divided into two sections, the first comprehensively covers the nitty gritty details of interior design and the second using the chosen interiors gives an in depth exploration of different types of retail experience.

This book is lavishly illustrated, Caroline Rowland seeks out retailers with stylish interiors and curates them to show core practical interior design tips like clever storage and lighting while giving us a strong flavor of her own personal aesthetics. We are taken behind the closed doors of diverse lifestyle store locations, there’s a cafe, craft shop, old barn and even a repurposed gas station.Boo

One of the shops featured is the Hambledon in Winchester, here at R&B we’ve always been fans and an excuse for a visit is never difficult. As well as old favourites we are introduced to new retail emporiums to inspire us to go out and seek. A wonderful visual resource, The Shop Keeper’s Home gives us a chance to indulge our curiosity as well as feeding the soul with a wealth of very stealable ideas.

If you like this post check out my book review of 'Urban Pioneer'

Designer Work Station

Crafts, AllAmanda Russell

I'm always designing and making at Soulfood Studio and I wanted a worktable I could stand at for designing and cutting out projects. I love this faux bois budget station, it gives me everything I wanted, loads of style, a big worktable packed with extra storage. It was super easy to make combining readily accessible Billy bookcases and a flush door, the project is pulled together using an easy bang on trend faux bois paint finish.

You will need:

  • 4x Billy bookcase

  • Flush door

  • Emulsion paint

  • Varnish

  • Universal primer

  • Roller and tray

  • Masking tape

  • Kitchen roll

  • Paint brush

  • Paint kettle

  • Bucket

  • Measuring jug

  • Spoon for mixing

  • Graining Rocker and Combination comb available online

  1. Follow the instructions that come with the Billy bookcases to assemble the four worktable supports. To make the bookcases boxier, we cut the lower skirting section off at the base with a saw, making the bottom shelf flush with the floor.

  2. Paint the bookcases, shelves and door with primer suitable for melamine, and then use a roller to apply two coats of the white emulsion.

  3. Paint lining paper with white emulsion so you can practice the faux bois graining technique. For the graining glaze mix together 1lt orange emulsion with 1lt acrylic scumble glaze. Paint a generous coat of glaze onto the lining paper. Take the graining rocker and pull through the glaze using a rocking motion to create the wood grain design. When you are happy with your paper practices start graining the furniture surfaces.

  4. To get varied woody effects, try using different rocking speeds and for simple graining use the combination comb dragged through the glaze. For best results be generous when applying the glaze and work quickly. To work the glaze while it stays open paint and grain in small sections, brush the glaze on in stripes the width of the graining rocker. After each pass clean off graining tools with kitchen roll. Don’t forget to paint the edges of the shelves and table top, glaze and run the comb over it.

  5. When all the furniture surfaces are faux bois grained, leave to dry thoroughly for a couple of days, to protect the surfaces apply varnish before assembling the furniture. To make the structure more secure use a very strong wood adhesive product, cutting out the need for nails and screws,

If you like this post check out my post on Styling with plants

Quick and Easy Step By Step Cushion Cover

Crafts, AllAmanda Russell

As a stylist I hold my hand up to many vices and one of the worst is fabric hoarding. Lots of us have fabric stashes waiting to be transfomed into something useful for our home, but when? Here’s a quick and easy step by step cushion cover project that’s perfect for using up fabric pieces.  Bring out your inner designer to create something beautiful for your interior. I’ve used some blissful fabric I hand blocked at a workshop with interiors Guru and shop Tobias and the Angel.

Cushion dimensions are not given, you choose to fit with your fabric and cushion sizes.

You will need

Scissors

Pins

Thread

Sewing machine

Zip

Measure your cushion, add Icm to each side for the seam allowance. Cut out fabric for cushion front and back.


Take the cushion front and turn one edge in by 1cm iron down, then repeat with the cushion back.

Take one piece of fabric and right sides out pin the zip to the turned edge. Then sew in place using the sewing machine fitted with the zipper foot.

Repeat with the remaining piece of fabric on the other side of the zip.

Open the zip by 7 cm, with right sides facing pin then sew around the 3 remaining sides of the cushion. Clip the corners.

Slide the zip open, then turn the cover through the opening so it is right sides out. Press the seams open before pushing cushion into the cover and sliding the zip closed.

Credits

Pins, needles

Korbond sew.korbond.co.uk

Sewing machine

Janome janome.co.uk

Scissors

Fiskars

If you like this post check out my post on Printing your own Labels


My Tiny Indoor Garden by Lia Leendertz, Book Review

Book Reviews, AllAmanda Russell

If you have no garden and are thinking you are never going to have enough space to have your own or grow your own plants and salads look no further than My Tiny Indoor Garden. House plants are having a moment just now, I use them for styling in so many projects, they are something we can all have and everyone wants to be in on the act. This delightful book by Lia Leendertz with beautiful images by Mark Diacono is packed with space saving indoor gardening ideas. It includes lots of ways to display flowers and plants as well as a wealth of tried and tested growing tips.

Before I go any further I have to declare my interest in this title and tell you I was one of the featured case studies. But that doesn’t mean there aren’t plenty more case studies with very doable projects I want to immerse myself in.

There’s lots of detail on plant maintenance and how to keep them in prime condition from the people growing the plants. There’s a pretty succulent garden in a porch with a useful demonstration on how to take cuttings to increase your plant collection. Cookery writer Deborah Robertson shows us the secret of reinvigorating mint plants to keep them producing flushes of beautifully scented leaves. And who couldn’t linger over a fabulous multicoloured hyacinth jar collection, attractive whether or not they have blubs in them. 

Full of beautiful images and information this book would have shelf space for a long time even if I wasn’t in it. Great as a gift to inspire again and again as well as being a reliable and in depth reference book.

By Lia Leendertz

Published by Pavilion Books

Images Mark Diacono

If you like this book review check out my review of 'Making Winter' by Emma Mitchell

How to Get Printing Your Own Unique Labels

Crafts, AllAmanda Russell

Making was always my passion. Growing up in my family it was like that. Make biscuits, that wasn't the end, you didn't sit down and tuck in, oh no, it had to be presented beautifully. What was the point of spending time making something and then not finishing it off properly?

I've been busy cutting stamps from rubbers to label jars of marmalade, and chutney, packets of biscuits and bottles of hooch. Rubbers are so soft and cutting with lino tools is easy. Ink up using a stamp pad and your ready to print labels as you need them. 

When you have down time what do you like to make?

Photo 18-01-2017, 08 24 41.jpg

If you like this post check out my post on how to make Mattisse inspired wall art

Styling with Plants to Bring Life to Your Room

Interior, AllAmanda Russell
IMG_8486.jpg

Plants bring life to a room with texture and colour they are living, breathing, changing over time. 

Keep your interior styling interesting by changing groupings and moving your plant collection around. Let the freshest and healthiest shine at the front and the ones in need of a rest out of the limelight. 

Choose planters to suit your styling, I have an ever changing selection ready to ring the changes when curated groups need to be refreshed. Use your plants to style a new still life, combine them with books and things you love. Revive styled groupings and keep fresh and interesting by bringing in specimen flowers and leaves.

IMG_8207.jpg
IMG_9155.jpg

If you like this post check out my Kokedama Moss Ball Plants

Get the Wood Aesthetic

Styling, AllAmanda Russell

Natural untreated wood, bang on trend for interiors. There’s lots of about at the moment, but how do you piggy back the natural woody aesthetic without making a huge investment in furniture or flooring?

A few simple styling tricks will help you get the look. When it comes to styling, grouping speaks volumes. There’s so much natural beauty in honest simple everyday items made from wood, curate and style a beautiful contemporary collection of vintage or new well choose well designed, wood utility tools. With their clean lines wooden spoons come carved in a variety of curvy shapes. Groupings bring out their differences, it shows the grain of the different woods and the rich patina built up from years of use.

Arranging gives them the space to talk, stop and take in the beauty. Out on the hunt for wood pieces look no further than the high street and check out craft markets. 

IMG_8305.jpg

If you like this post make sure you check out my post on making a 'Super Easy Picture Shelf'