Soul Food Studio

Interior

Book Review, Garden Style: Inspirational Styling for Your Outside Space by Selina Lake

Book Reviews, AllAmanda Russell
IMG_0002.jpg

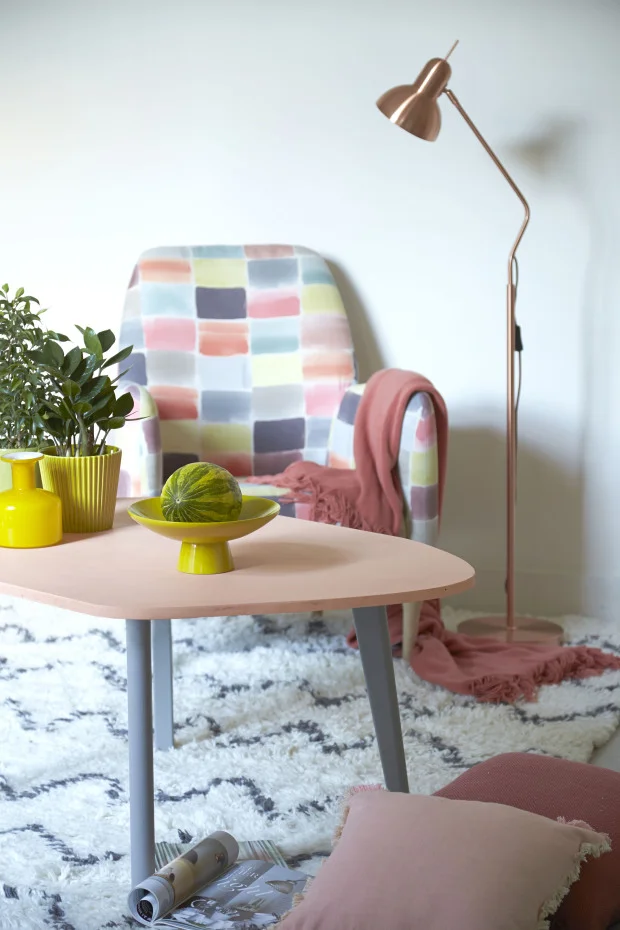
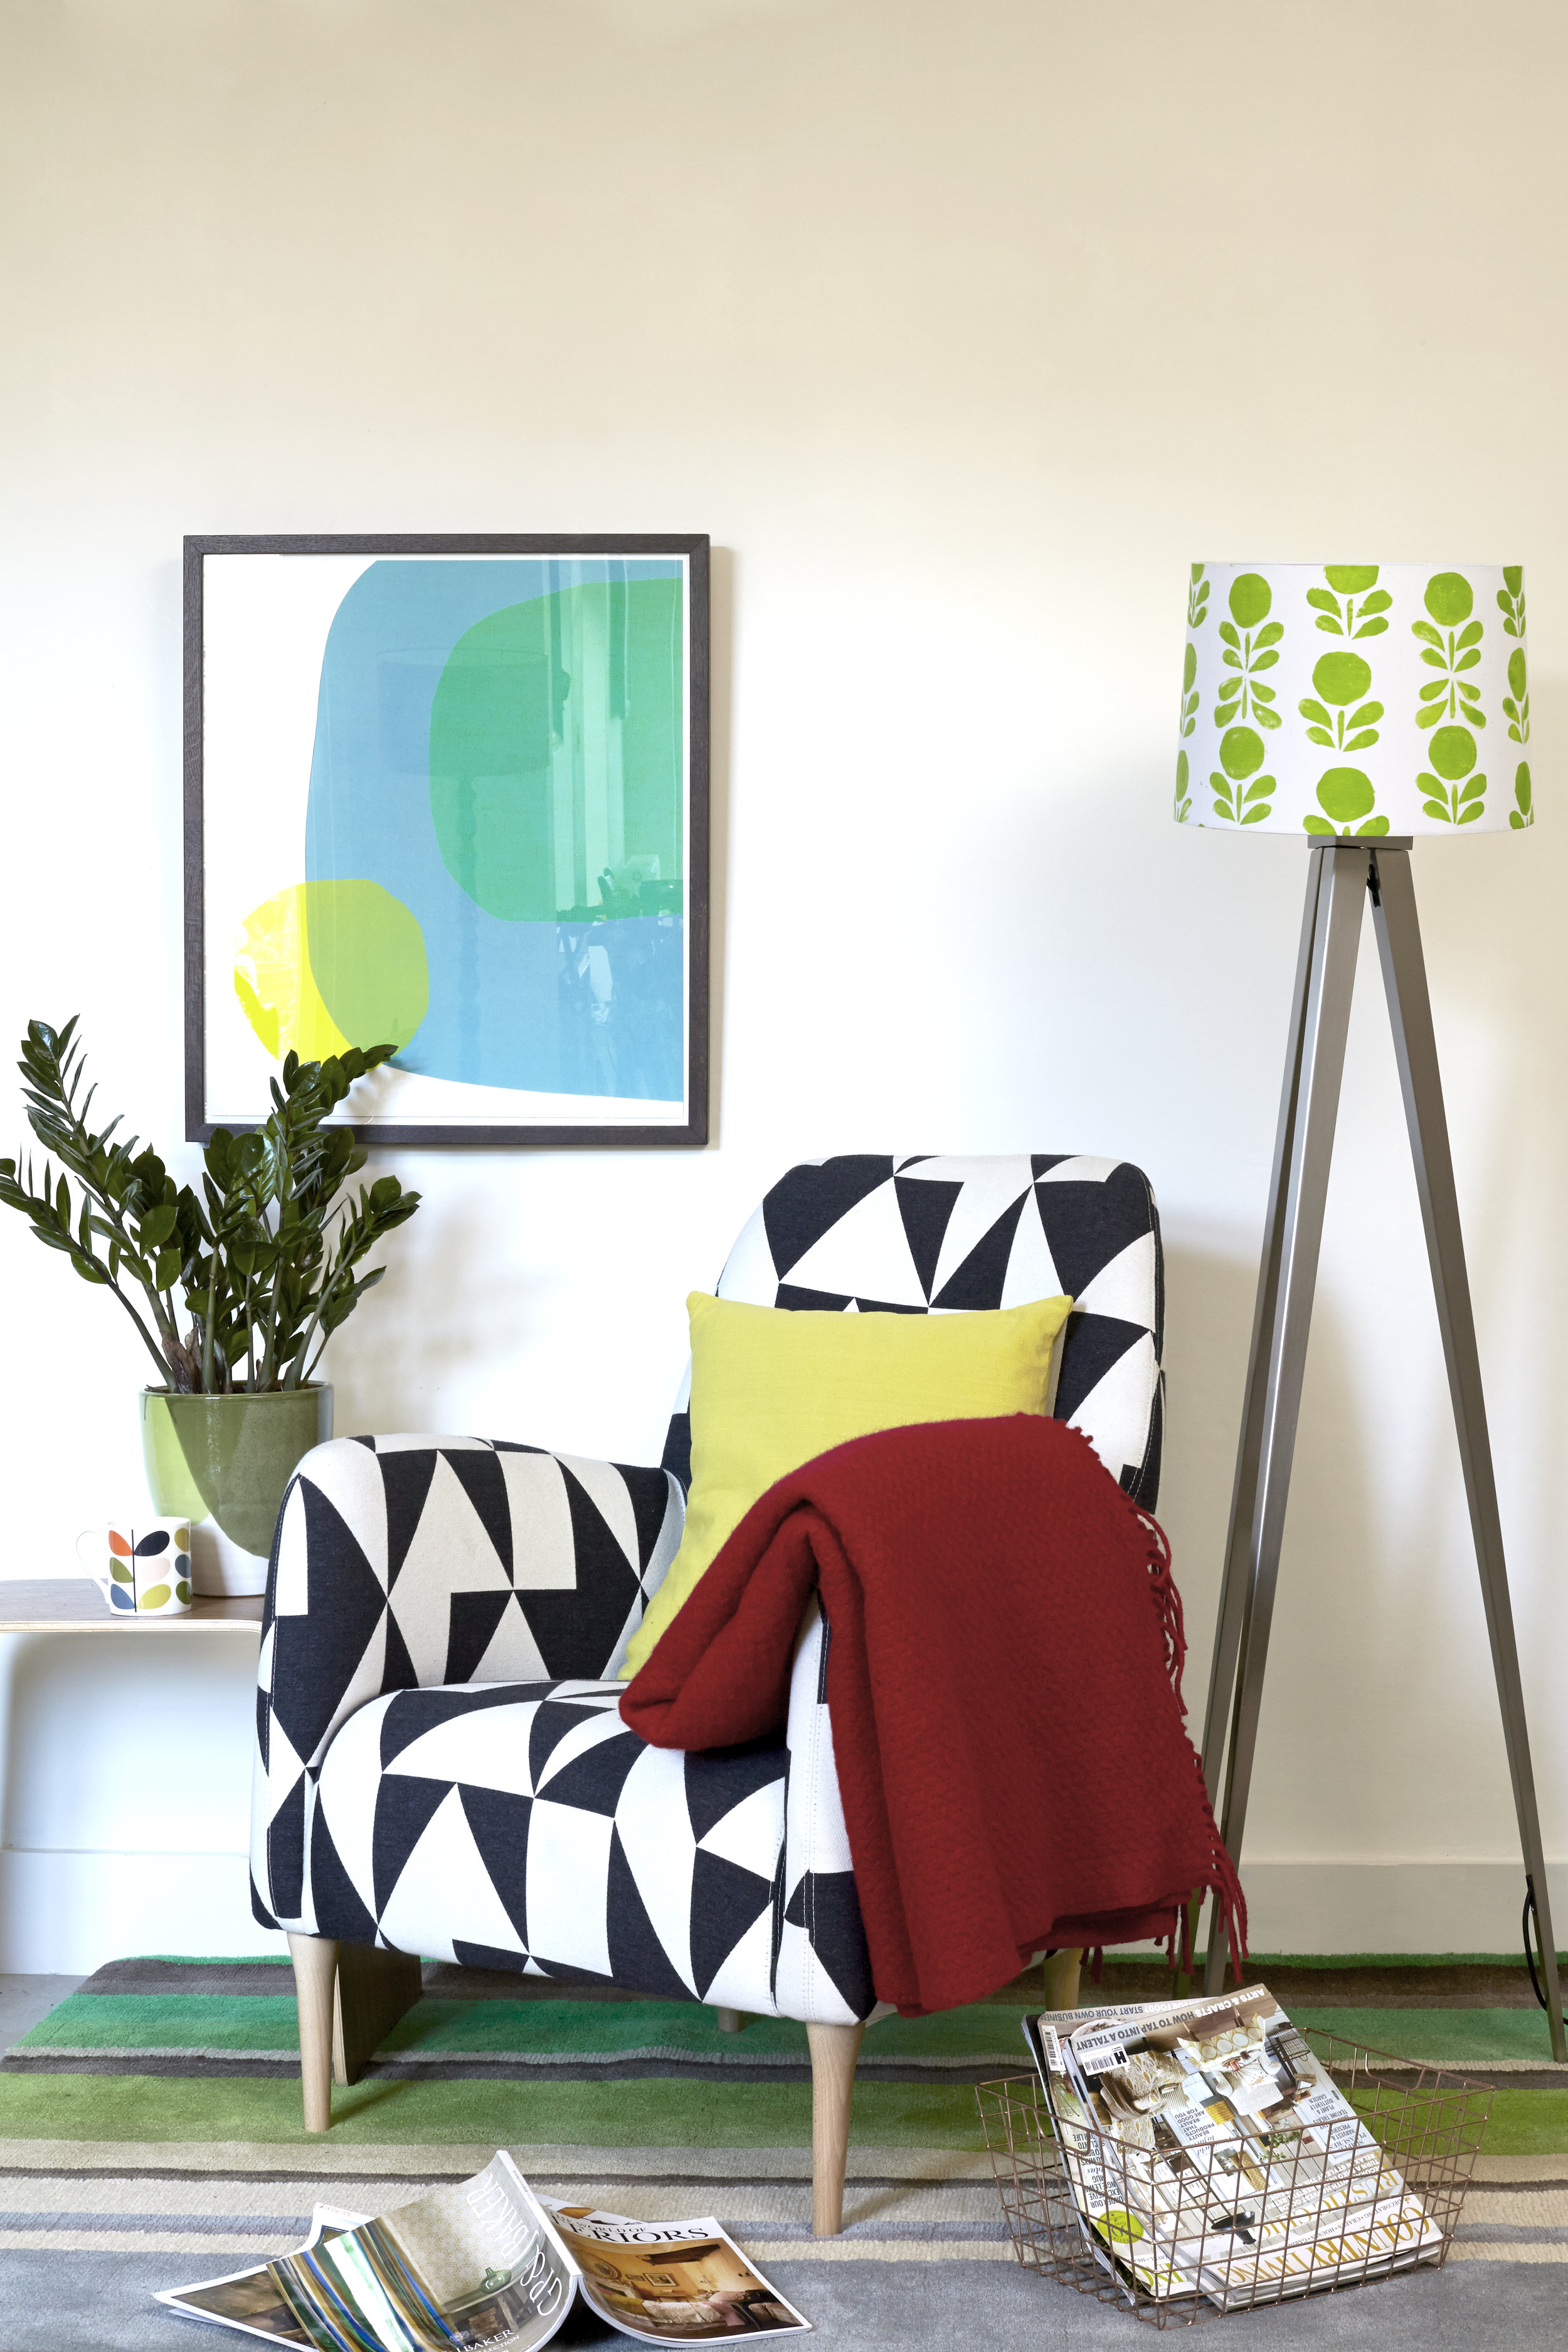
With the recent upturn in the weather, once more it’s time to get back into the garden and embrace the wide-open spaces. With immaculate timing a review copy of the gorgeous Garden Style: Inspirational Styling for Your Outside Space by the talented stylist, Selina Lake, arrived in the studio. The garden has greened up, here I am falling in love with it all over again, ripe for any garden porn that comes my way.

IMG_0004.jpg

 Lakes style is approachable and practical, full of beautifully styled shots it is a wonderful book to reach for when you are looking for new inspiration. Divided into chapters, each covers a different theme. Garden Inspirations is the opening chapter, here Lake shows us the spaces and plants she enjoys, as well as encouraging the reader to look for places to help develop their own individual style. I love the chapter name, Decorating Your Garden, it includes advice on choosing furniture, rounding up ways to display plants and also how to get essential decorative details like lighting into the space. Further chapters are about creating garden rooms as well as relaxing and eating outdoors and the one that presses my buttons, wont be any surprise to my readers, as it’s all about Bringing the Outside In, including details on foraging and very usefully tips to help you create your very own cutting garden. 

IMG_0005.jpg

Lake envelopes us with the idea a garden is an extra space for escaping to, it’s your own other worldly corner. Peppered through out the text are useful style tips along with very doable, attractive projects, for instance, use small vintage bottles to hold posies to jazz up a picket fence. I suggest mixing up one of the recipes for botanical cocktails, settling down in a verdant corner to have a good read of this book, a beautiful and informative garden companion.


Garden Style: Inspirational Styling for Your Outside Space by Selina LakePhotography: Rachael WhitingRyland Peters and Small £19.99http://selinalake.co.ukhttp://www.rachelwhiting.co.uk

Garden Style: Inspirational Styling for Your Outside Space by Selina Lake

Photography: Rachael Whiting

Ryland Peters and Small £19.99

http://selinalake.co.uk

http://www.rachelwhiting.co.uk

If you liked this book review then why not read my book review of Mad About the House by Kate Watson-Smyth

Easy, DIY Roman Blind

Crafts, AllAmanda Russell

I couldn’t resist this print fabric and a roman blind is the perfect canvas for showing off the mid century design. Below I show you how to design and make your own really simple roman blind, lets do it right now!

You will need:

  • Pre-corded Roman Blind kit, I used one from John Lewis

  • Pins, needles, thread

  • Dressmaking scissors

  • Fabric, I used Villa Nova fabric

Measure the width and drop of your window for finished blind size. Add 1.5cm to the both sides and 6cm to the length, then cut out the fabric.

Wrong side up turn in the sides, fold the fabric over by 0.5cm and then a further 1cm, pin in place and sew down.

Take the loop tape off the head rail, turn the top of the blind over by 1cm, then pin the loop tape in place 0.5cm below the turn. Sew the loop tape in place along both edges.

To make the pocket for the bar on the lower edge fold the fabric up by 0.5cm then again by 4cm, sew in place.

To find the positions for the rod channels measure the length of the blind then divide into 6. Mark positions for the rod tape on the reverse of the blind, draw a light line from one side to the other.

To calculate the length of the channel tapes add 2cm to the width of the blind measurement then cut the channel tapes. Turn the side of the channel tape in by 1cm then using the lines you drew on the blind sew in position leaving one end of the channel open.

Cut the rods 2cm shorter than the width of the blind, insert into the channel through the opening. Turn in the tape by 1cm then close the opening by sewing onto the side of the blind, repeat for each rod.

Once you’ve made your Roman blind install it following your kit instructions, I used a pre-corded kit from John Lewis.

If you like this post check out my post on Quick Revamp for Drop-in Seat Chair

Make your own Funky Feather Christmas Wreath

Crafts, AllAmanda Russell

Who wouldn’t want this incredibly chic colourful feather wreath to bring bright carnival colour to your room? I show you how to make this unique wreath with the minimum of effort.

homestyle-makes-4-12.jpg

You will need:

Turkey Quills in assorted colours

Polystyrene wreath form

Glue gun

Fishing line

Command Hook

Satay stick

homestyle-makes-4-13.jpg

The secret to the wreath is to put the feathers in at an angle so they completely cover the white polystyrene form. Starting pressing in feathers on the outside edge, first, make a pilot hole in the edge of the wreath with a satay stick, press the feather into the hole, then squeeze on a blob of glue to hold. Add the feathers in staggered layers, about 3cm from the next one. Work from the outside to the inside edge moving, around the wreath with each new layer.

When finished decide which is the top of the wreath and tie around a loop of fishing nylon to invisible suspend the wreath from a removable Command hook.

I used:

Specialist Crafts: 3 packs Turkey Quills in assorted colours £6.17

Specialist Crafts: Polystyrene ring approx £1

If you like this check out my post on how to decoupage you own hand plates

Get Yourself an Asymetric Coffee Table

Crafts, AllAmanda Russell

Have yourself an enviable conversation piece coffee table by transforming a very ordinary coffee table with a new asymmetrical top and a lick of paint.

You Will Need

  • Lisabo Tabe Ikea

  • 20mm MDF

  • Black and Decker electric jig saw and drill

  • Paint

  • Varnish

  • Wood filler

  • Screws

  1. Using the jig saw cut the table top over hang off the table. Draw the shape of the new table top on the MDF. Cut out with the jigsaw. Sand the edges of the table and MDF.

  2. Paint the MDF table top blush and the legs graphite.

  3. Place the MDF table top on the table, drill through the new top into the old top then screw down.

  4. Fill screw holes with two part filler when dry sand and retouch paint.

  5. When dry paint the whole table with quick dry

Tip

  • This table gives lots of space for styling a table scape, I love the zingy saffron I chose. For a new look, change your styling accessories with the season.

If you like this post why not check out my post on Stamping your own Floral Lampshade

Stamp your own floral lampshade

Crafts, AllAmanda Russell

I love simple bold classic 60s florals and designed a print in a bright vibrant green for a large lampshade. This is a very simple way to create your own bespoke piece of designer homeware.

You will already have many of the things you need for this low-tech hand printing project and there are only a couple of specialize products you will need.

You will need:

  • Plain drum lampshade

  • Dylon fabric paints in Green and Yellow from

  • Acrylic block

  • Tracing paper

  • Pencil

  • Rubber

  • Masking tape

  • Glue stick

  • Hobby foam sheet

  • Car wash sponge

  • Scissors

  • OHP pen (overhead projector pen)

  • Masking tape

Step by Step

  1. Measure the lampshade and draw a design to fit, then trace onto tracing paper. Use a permanent OHP pen to mark the center back of the acrylic block. Place the design under the acrylic block and trace onto the reverse side of the block with the OHP pen.

  2. To transfer the image onto the foam sheet, place the tracing paper design face down on foam, and then scribble over the back with a soft pencil.

  3. Cut out your design from the foam sheet using scissors and a craft knife. Stick the cut out pieces in position on the acrylic block using a glue stick.

  4. Place a line of masking tape around the top and bottom edges of the lampshade.

  5. Mix up your fabric-printing colour, I made a lime green by mixing the yellow with the green about half a pot for this design. For the fabric paint applicator cut a piece 3cm cubed from the car wash sponge. Dab one side of the foam in the fabric paint until it is evenly coated. Then dab the fabric paint onto the design block and print on paper to check colour.

  6. Start printing onto the lampshade, beginning at the seam, reloading the block with paint after each impression.

Tip

  • Transparent acrylic blocks take the headache out of positioning the block especially when printing repeat designs.

If you like this blog post why not read my post on Creating a Retro Tiled Coffee Table

Pantone Green with Pink: How to Work Contemporary with Vintage

Styling, Interior, AllAmanda Russell

A ladder of fresh green fern. Yes please, fresh lively pantone green with pink. What kind of pink? Rose, gold, plaster, copper, combine with lustre, splash with the swoosh of a brush. Styling interiors there’s colour in my blood pumping though my veins, combine colours how does it make you feel?

In the world of interiors and styling colour fashions come and go, how wonderful when a passion collides with the outside world. Pink splatter lustreware yes please! Colour referencing can give vintage and antique a contemporary edge. I always loved my grandfathers collection of Sunderland bowls lined up along his mirrored dresser. The severity of the graphic black steel engraved type against the anarchic abandonment of the splatter and swish of pink.

Kids in tow, oggling Sunderland bowls like his through the window of a bijou Georgian Hexham antique shop, thinking when will I ever have one and when I do, might it get destroyed? Recently I found this vintage mug, I don’t know where, I know nothing about it, I have no idea how old it is, not very. The utility of the shape and the pink lustre eases my need for those bowls. With the pink and green it's spot on for an eclectic contemporary interior.

If you liked this post make sure you check out my post on How to style your home using Sylvac Urns

Look No Further for Affordable Design Icons: Design icons, something to aspire to, often out of reach for the ordinary person

Interior, Styling, AllAmanda Russell

Design icons, something to aspire to, often out of reach for the ordinary person. Good news! Not so with antique stoneware bottles. Sometime domestic ceramics, hardwearing, functional, they were the ultimate peoples product, now they come with their own unique history, I am a big fan.

Bottles like these have always featured in my life. As a child we dug them out of the pond in the spiny, the collection was organic, it grew then shrank, given away when moving on, new ones turning up, to start the cycle again.

The range of whites, like wines, describe with carefully picked words, mellow, creamy, blue, grey, mineral, earthy, stone, muddy, heritage. How do you describe your white?

Easy on the eye with simple utilitarian good looks, lyrical shapes, a curved shoulder, timeless classics they sit happily in both contemporary and classic interiors.

Why not take a minute to hop on over to the shop and take a look at the contemporary vintage ceramic collection on offer.

If you like this post check out my post on Kokedama Moss Ball Plants