Soul Food Studio

shelf

Bang on Trend Super Easy Picture Shelf

Crafts, AllAmanda Russell

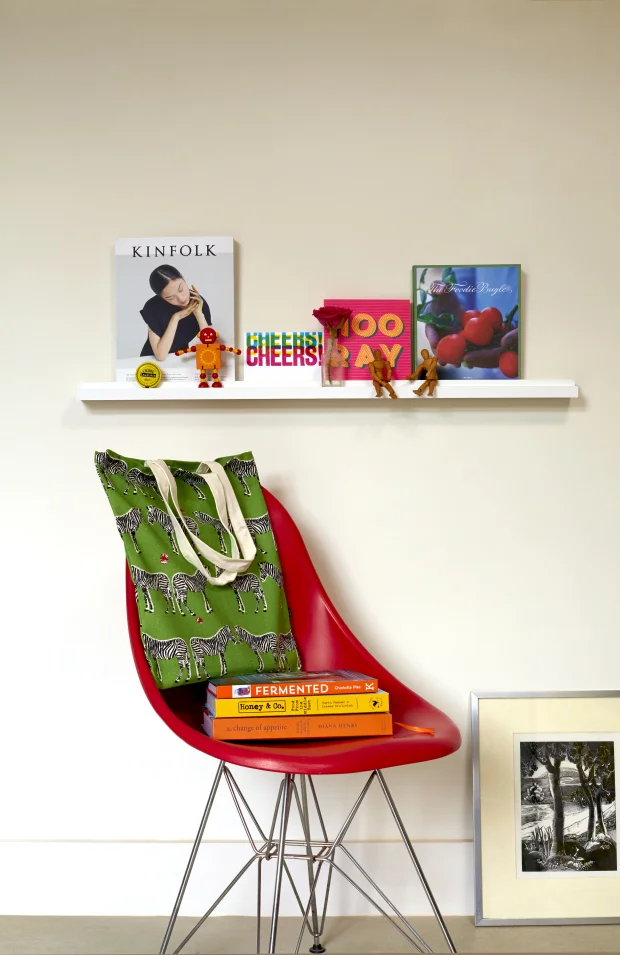
Have you ever marvelled at curated collections of pictures and wondered how you can move them about without damaging your walls? This great little picture shelf is the answer, use it to display your own curated collection of pictures, it’s easy to move them around again and again whenever you want to change the look.

You Will Need

  • Wood strip and beading

  • Brass picture hooks

  • White matt emulsion paint

  • Electric Drill Black and Decker

  • Rawl plugless screws

  • Panel pins

  1. Measure the wood strip and beading and use a saw to cut both pieces of wood to the same length.

  2. Place the beading strip in the centre of the wood strip.

  3. Hammer in position using panel pins.

  4. Paint with white emulsion.

  5. Screw the brass picture hooks on the back edge.

  6. Mark and drill holes for screws on the wall, then screw the shelf in place.

Tip

  • Paint the shelf with the same colour as the walls so it blends into the room

If you like this post why not take a look at How to create your own vintage letter

Turn a wine box into a great shelf

Crafts, AllAmanda Russell

Turn an old wooden wine box into a shelf by painting, wallpapering and adding screw holders at the side to attach it to the wall. I chose a lovely blue paint and wallpaper from Mini moderns, one roll will go along way and that means that you can cover files, books and other shelves too.

You will need –

  • Wooden Wine box

  • Minimoderns Emulsion paint lido £5.00

  • Paint brush

  • Minimoderns wallpaper Darjeeling £50

  • PVA glue

  • Scissors

  • Picture frame brackets Homebase

  • Screw Driver

  • Electric drill black and decker

  • Masonary screws

  1. Paint the exterior of the box with emulsion paint.

  2. Mix pva with a little water to the consistency of double cream and paint the inside of the box to seal.

  3. When dry measure and cut wall paper to size. Paint the reverse of the paper pieces and insides of the box with let down pva.

  4. Press the paper in place rubbing down any stubborn bubbles.

  5. When dry screw picture frame brackets to the side, then screw to the wall.

Tip

  • Wood can be very absorbent and suck up paint, to get an even coat first paint the box with emulsion which has been let down with a little water.

If you like this blog post make sure you read my list on creating your own Designer Work Station