Soul Food Studio

ceramics

Kintsugi: The Glam Rock of Ceramic Repairs

Crafts, AllAmanda Russell
IMG_0006.jpg

With its lush floral bouquet and wreaths, when my large blue and white transferware platter broke it was too special to throw away. A while before I was given a Kintsugi repair kit as a gift and my broken platter was the ideal candidate for a trial run of this technique.

The ancient art of Kintsugi, is the glam rock of ceramic repairs. This elegant method of repair was developed by the Japanese who believe a ceramic piece, once repaired is more beautiful than the formerly undamaged piece.

After repair the china will stand up to gentle use, clean by wiping over with a damp cloth. The platter is perfect for a huddle of plants, or to hold a selection of metze dishes or fresh fruit.

While gluing the pieces together an extra pair of helping hands can be useful to maneuver the china into place, particularly if they are large pieces.

DSC_0014.jpg

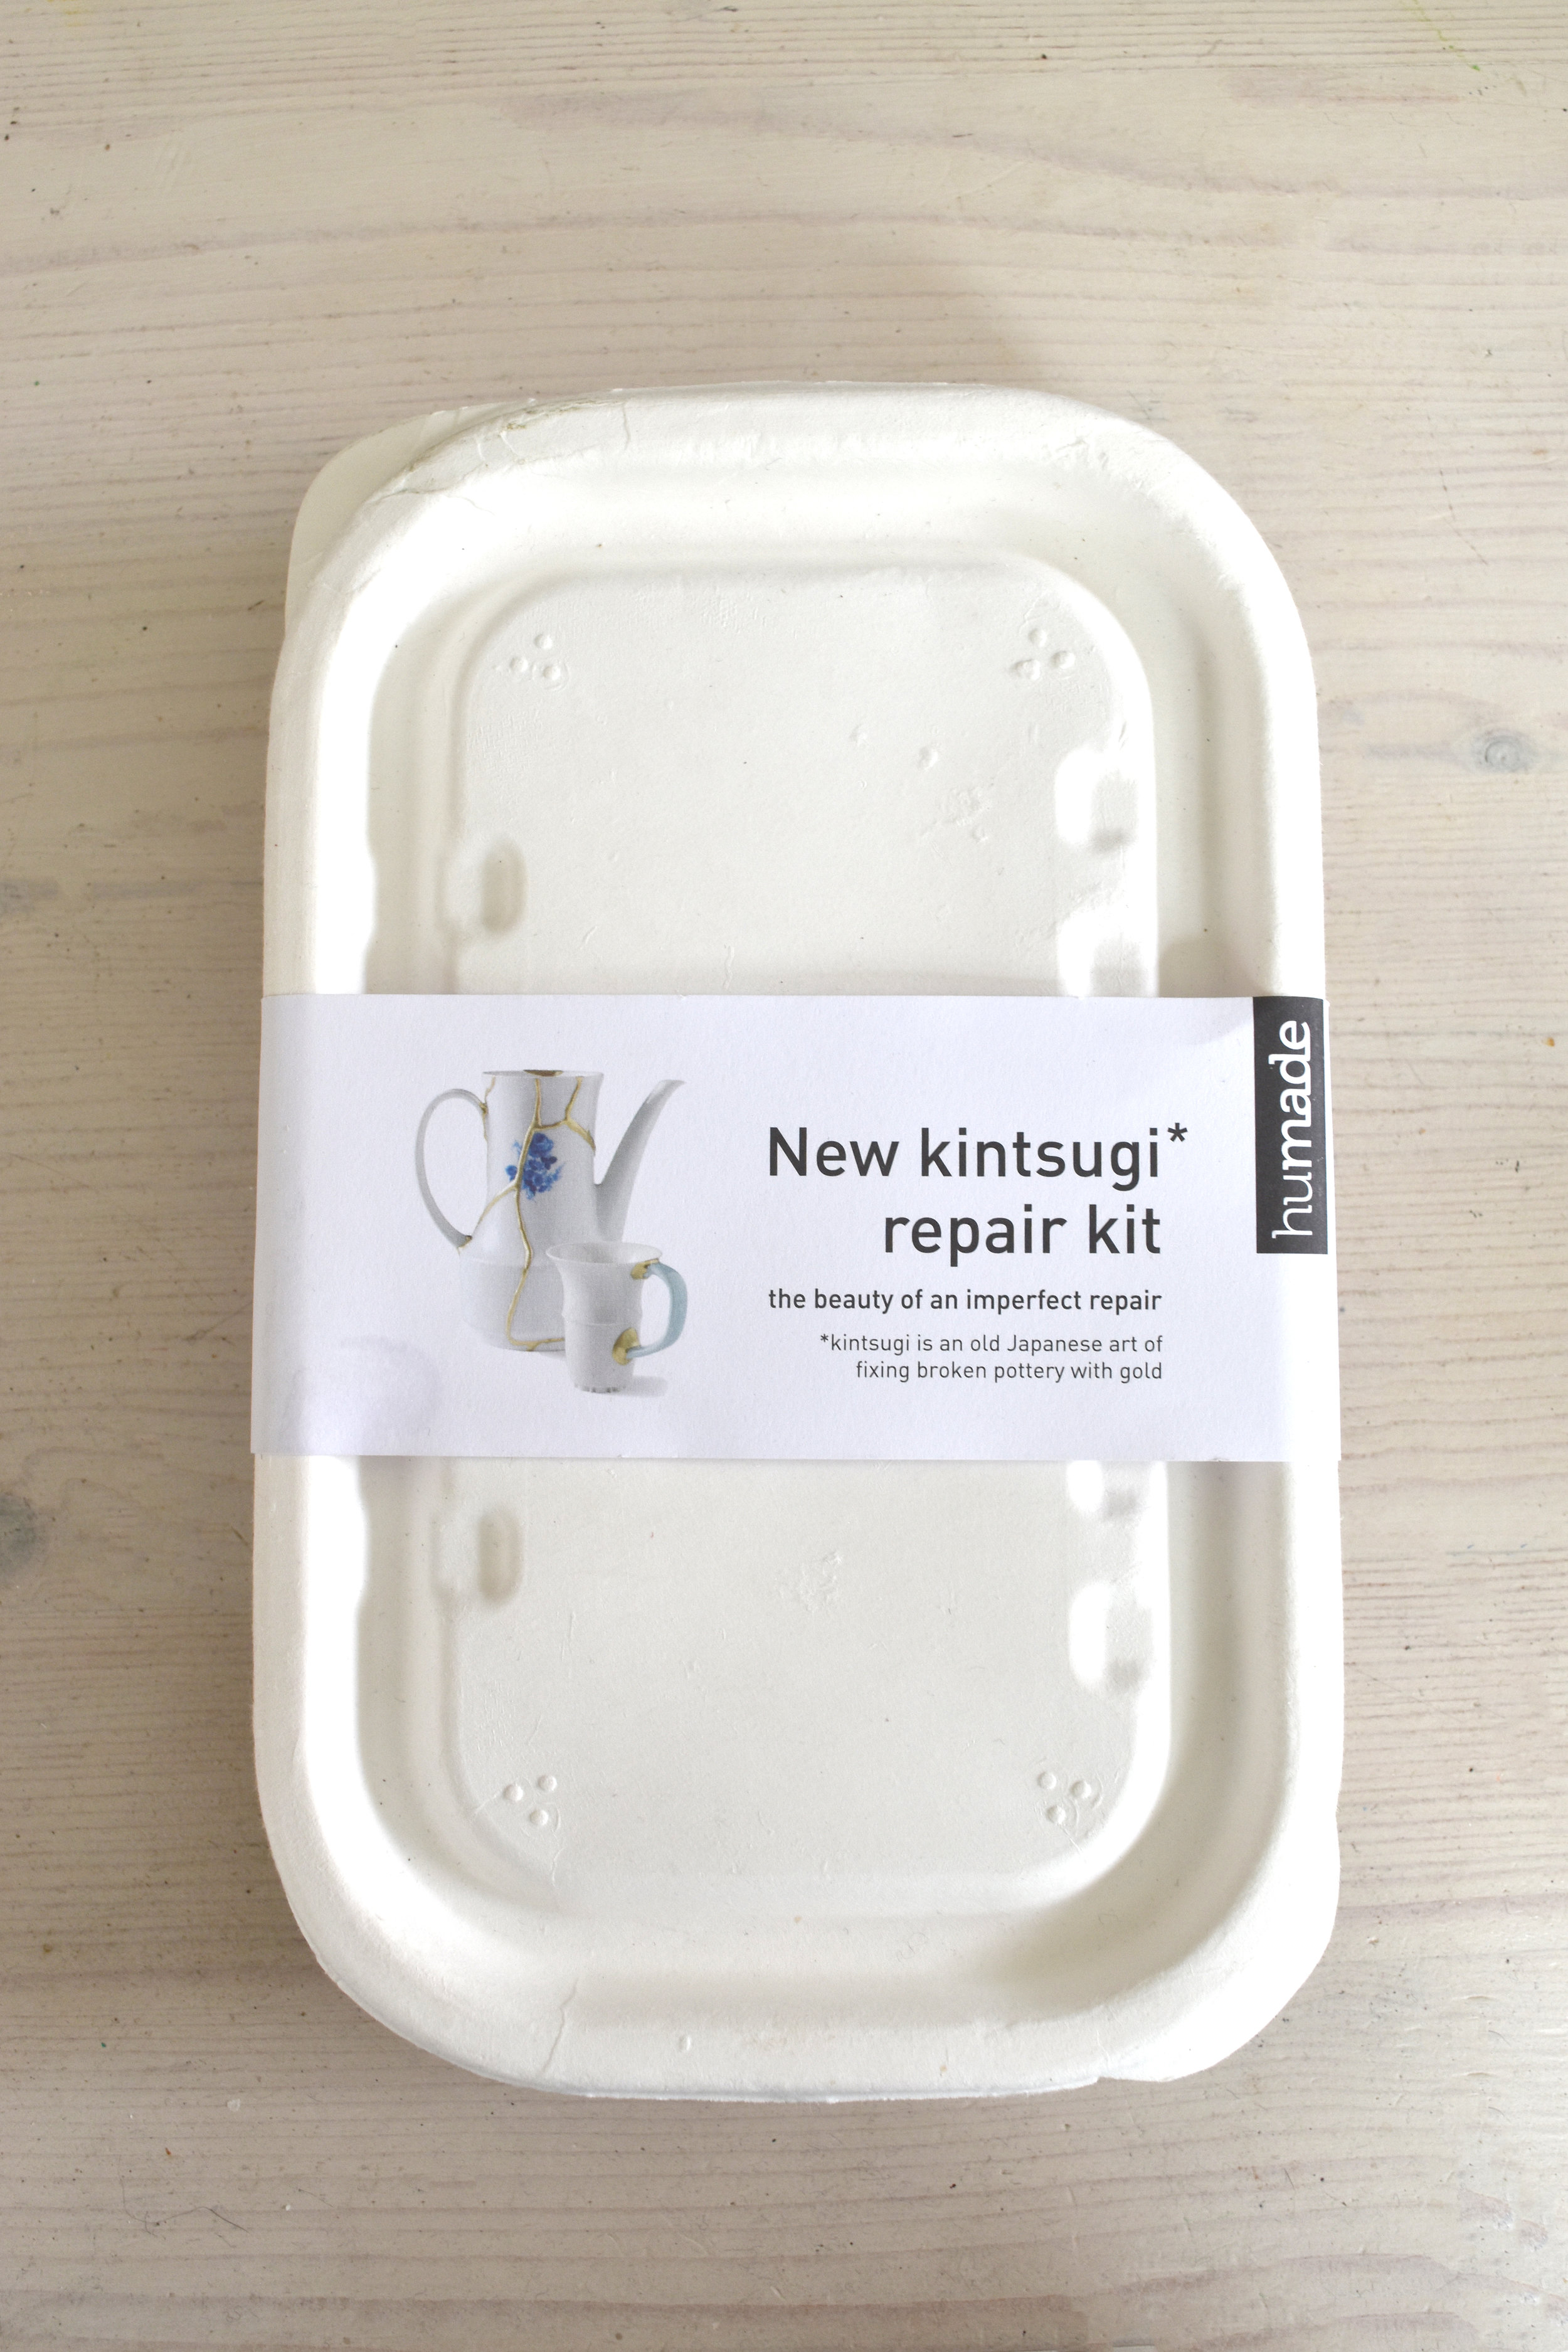
To get hold of your own Kintsugi Kit visit - https://humade.nl

1. Wash the broken china in warm soapy water to remove dirt and grease from the broken edges of the china, rinse and dry.

1. Wash the broken china in warm soapy water to remove dirt and grease from the broken edges of the china, rinse and dry.

2. Using a lolly stick mix together equal parts of the two part quick dry epoxy adhesive.

2. Using a lolly stick mix together equal parts of the two part quick dry epoxy adhesive.

3. Stir a small amount of the gold dust into the adhesive to colour it.

3. Stir a small amount of the gold dust into the adhesive to colour it.

4. Use the lolly stick to spread an even layer of gold adhesive along both broken edges of the china.5. Wait a minute for the adhesive to start going off before bringing both halves together and then holding together firmly until the adhesive has se…

4. Use the lolly stick to spread an even layer of gold adhesive along both broken edges of the china.

5. Wait a minute for the adhesive to start going off before bringing both halves together and then holding together firmly until the adhesive has set. Before the adhesive completely hardens brush over with gold dust.

6. When the adhesive is completely dry, bring a warm glow the gold adhesive by burnishing gently with a soft cloth.

6. When the adhesive is completely dry, bring a warm glow the gold adhesive by burnishing gently with a soft cloth.

IMG_0004_1.jpg

If you like this post check out my post on Envelope Notebook

Constance Spry Vases for Everyone

Styling, AllAmanda Russell

With her innovative approach society florist Constance Spry brought bohemian vision
to floristry from the 30s beyond the 50s into the 60s. A visionary, her books on flower
arranging and cooking influenced a generation of 50s housewives. Much copied,
mantle vases in her style became a must have for every 50s homemaker hungry for
her look.

IMG_0004.jpg

Their cool and classic designs are perfect for making a bold statement, adding style
to any interior. The vases often come in a family of sizes, a different one to cater for
all your floral needs, short or long stemmed.

IMG_0004.jpg

Follow the 30’s society florist example and add more than just flowers. Extend a
bunch of market or garden flowers and make them altogether more interesting by
mixing in gnarly twigs for height, vine trails for waft, infill with garden foliage then add
flowers.

IMG_0007_2.jpg

Or generously plant up with a cushion of moss studded through with spring bulbs, or
fill to overflowing with fresh fruit, with bunches of grapes and summer stoned fruit.
Ring the changes by displaying it empty, as a stand alone sculptural piece. Your
imagination is the only limit to how you choose to style your vase.

When you’re looking for these vintage pieces expect signs of wear. More often than
not the surface of the glaze will have slight crazing and there will be scattered iron
spots on the interior, which add to the character of ceramics of this age.

If you are interested in seeing more, go have a look in my shop, where theres a big
selection.